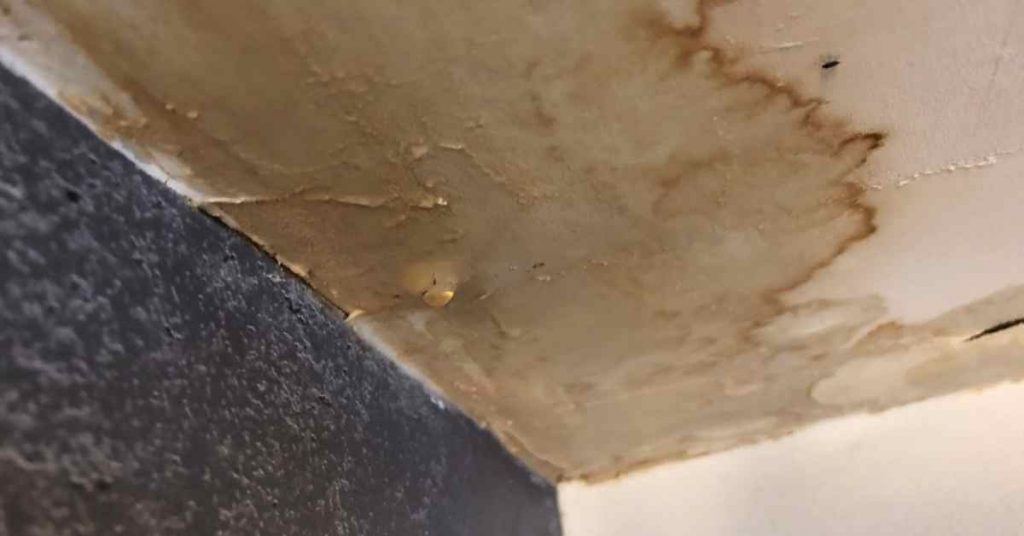
Water leaking through the ceiling after taking a shower can be a concerning issue that requires prompt attention. Here’s a summary of the common causes and solutions for this problem:
Causes
- Leaking Shower Pan: A damaged or improperly installed shower pan can allow water to seep through and reach the ceiling below.
- Leaky Showerhead or Faucet: Loose connections or worn-out seals in the showerhead or faucet can result in water escaping and causing leaks.
- Cracked Tiles or Grout: Cracks in shower tiles or deteriorating grout can permit water to infiltrate the walls and floor, ultimately leading to ceiling leaks.
- Faulty Caulking: Inadequate or damaged caulking around the shower enclosure or bathtub can let water penetrate the wall and ceiling materials.
- Plumbing Issues: Leaking pipes within the walls or ceiling near the shower area can be a hidden source of water damage.
Solutions
- Inspect and Repair the Shower Pan: If the shower pan is suspected to be the source of the leak, it may need to be replaced or repaired by a professional.
- Check and Tighten Connections: Inspect the showerhead, faucet, and associated plumbing connections for any signs of leaks. Tighten loose connections and replace worn-out washers or seals.
- Regrout and Seal Tiles: If you find cracks or damaged grout, remove and replace it. Ensure the tiles are properly sealed to prevent water from seeping through.
- Recaulk: Reapply caulking around the shower enclosure or bathtub to create a watertight seal. Remove old caulking before applying the new one for better adhesion.
- Professional Plumbing Inspection: If the cause of the leak is not readily apparent, or if you suspect a plumbing issue within the walls or ceiling, consult a professional plumber to identify and repair any hidden pipe leaks.
- Ceiling Repair: Address any water damage or stains on the ceiling promptly to prevent further deterioration. Repair or replace damaged ceiling materials as necessary.
- Preventive Measures: To avoid future leaks, consider installing a shower pan liner, regularly inspecting and maintaining plumbing, and using a shower curtain or door to contain water within the shower enclosure.
1. Loose Shower Arm
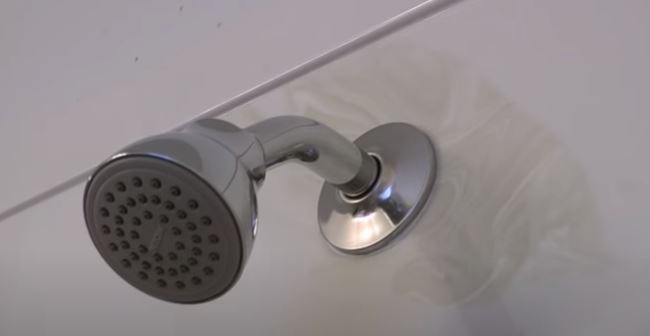
A shower arm is the horizontal (often curved) pipe from the wall where the shower head is connected to. Inside the wall, the shower arm is connected to a vertical pipe which brings water from the shower valve (mixing valve).
The connection between the shower arm and the water supply pipe can get loose after some time especially if it was not tightened properly.
When that is the case, water will leak out as you shower and leak through the ceiling of the basement or floor below.
2. Leaky Shower Valve

A shower valve has O-rings, washers and gaskets which all helps to create watertight connections. With time and greatly affected by water quality, the seals will wear out resulting in leaks.
You can see the leaks through the shower faucets or bathtub faucets but sometimes water will leak inside the bathroom wall and down through the ceiling of the floor below.
3. Leaking Shower Drain Gasket
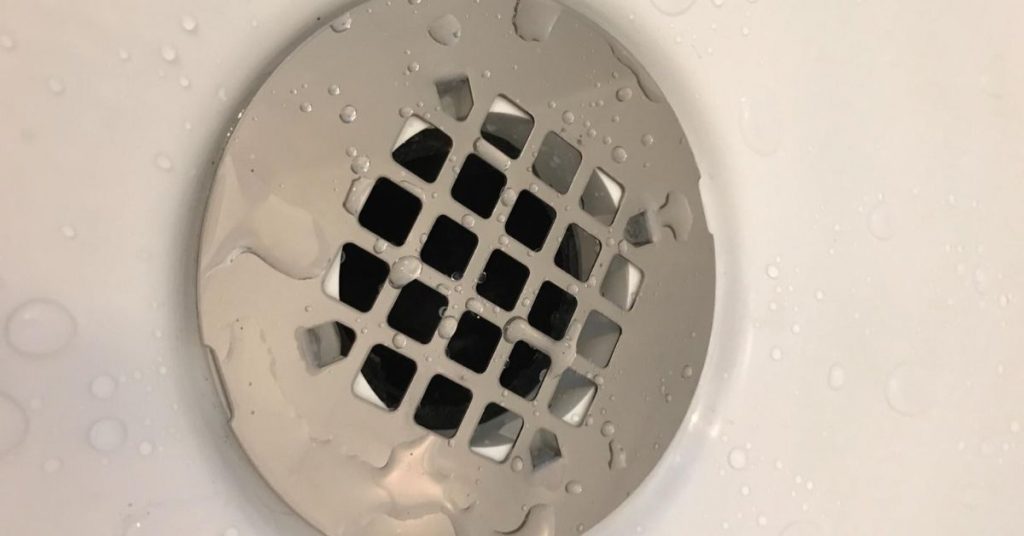
You shower drain has a gasket which seals around the drainpipe and therefore ensure that wastewater flows out through the drain line without leaking out.
After years of usage, the drain gasket can dry out, crack, warp and start to leak. When that happens, you will always have water leaking through the basement ceiling after taking a shower.
4. Damaged Bathroom Tiles
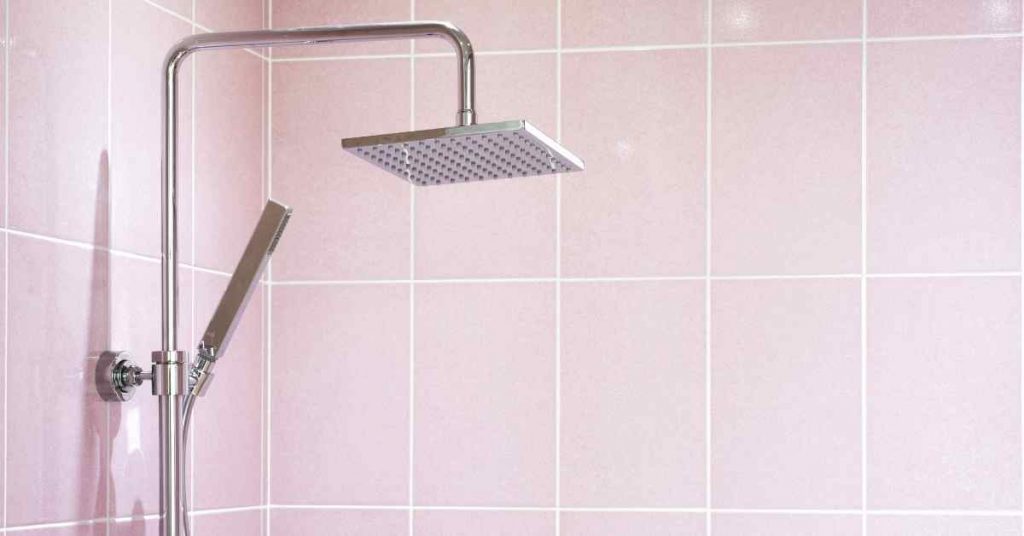
Apart from making your bathroom look beautiful and easy to clean, tiles are also designed to make it waterproof. Although it is rarely the source of a leak, damaged bathroom tiles could be the reason why water is leaking from your basement ceiling.
The tiles themselves could be loose but sometimes the grout is the culprit. Cracking grout allows water to seep through and leak from the ceiling of the floor below.
5. Leaking Bathtub Overflow Drain
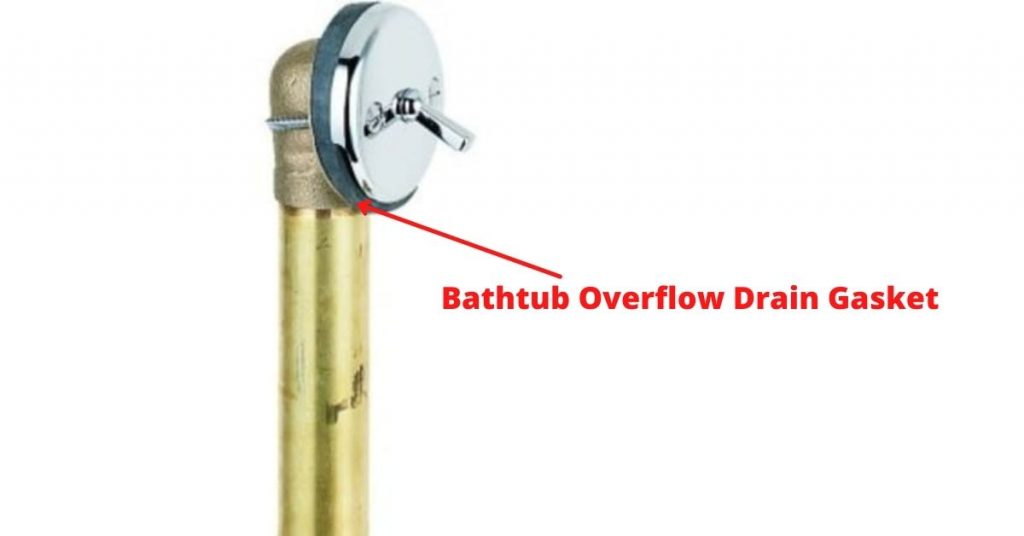
Sometime if you have a tub-shower combo, you will notice that the leak only appears when someone is soaking in the tub and not when showering. If that is the case, you are dealing with a worn out and leaking bathtub overflow drain gasket.
Just like the main drain, the overflow drain also have a gasket which ensures that the water from full bathtub does not leak out but instead flows out through the overflow drain and into the main drain line.
6. Clogged Drain Line
Although quite rare, a clogged shower drain could be the reason water is leaking through the ceiling after someone tales a shower.
Hair, soap scum and oils can form a clingy ball which restricts the drain line from draining wastewater. With nowhere to go the shower pan will overflow and the wastewater will leak out through the basement ceiling.
What to Do if Water Leaks Through the Ceiling after a Shower
There are few ways to fix water leaking through the ceiling. This will however depend on what is causing the leak in the first place.
The following are some of the ways to fix water leaking through the ceiling after a shower:
1. Tighten the Shower Arm
To tighten the shower arm you will first need to remove the shower head and the escutcheon. An escutcheon is the decorative cover plate at the wall. It is purely for aesthetic purposes.
- Turn off the shower faucet.
- Remove the shower head. Grab the shower head nut with a wrench and gently turn it counterclockwise.
Please note that if the shower arm is too loose, it will unscrew as well as soon as you start loosening the shower head. You can therefore use a secondary wrench to back it off.
- With the shower head out, remove the escutcheon. Sometimes you will only need to slide it out but some are attached using caulk or even an Allen screw.
- Grab the shower arm with a wrench and gently turn it counterclockwise to loosen it. To prevent the shower arm from being burred by the wrench, wrap a rag or duct tape around the shower arm.
- Use an old toothbrush to clean the shower arm threads and those of the water supply pipe.
- Apply about 4 wraps of Teflon tape on the threads in a clockwise direction.
- Slowly screw the shower arm into the water supply pipe being careful to avoid cross-threading.
- Tighten the shower arm with a wrench.
- Slide in the escutcheon.
- Clean the shower head threads and apply Teflon tape as well.
- Connect the shower head back on the shower arm and gently tighten it with a wrench.
- Turn on the shower faucet and check if the leak has stopped.
2. Check the Shower Valve
A leaking shower valve is not that easy to fix by the average homeowner. One thing you can try to do is remove the shower faucet and check if you can see any leaks through the small hole on the wall.
Alternatively, check if there is an access panel behind you shower wall which you can use to investigate if a leaking shower valve is the problem.
I would advise that you start with all the other issues and when the leak persists narrow down your search to the shower valve. Even after establishing that a faulty shower valve is the source of the leak, I would still recommend that you hire a plumber to fix the problem for you.
Unless you have an access panel behind your shower wall, fixing the problem can involve cutting a hole at the back of you shower wall in order to access the shower valve.
Needless to say, this type of job needs to be done by a licensed plumber.
3. Inspect the Bathroom Tiles
This is another area you may need to work with a professional, unless you can replace grout yourself. Even finding the source of the leak is not that easy.
A small hole in the bathroom tile grout is enough to let out water and leak through the ceiling of the floor below. Dry your shower floor and carefully inspect the grout for cracks.
If indeed cracked shower tile grout is the cause of the leak, a professional plumber will scrape out the old grout and replace it with another layer. Note that if the shower tile substrate is damaged by water you will need a new substrate and tile as well.
4. Replace the Shower Drain Gasket
A shower drain gasket is cheap and easy to replace. This is one repair you can do on your own without needing to hire a plumber.
The process will depend on whether you have a walk-shower or a shower-bathtub combo. Both of them however have a drain gasket which works the same way.
The solution involves first removing the shower drain cover or bathtub stopper and then unscrewing the flange in order to access the drain gasket.
After replacing the gasket, roll a nice a bead of plumbers’ putty and apply it underneath the lip of the flange before installing it back. Most people forget to apply the plumber’s putty and that is why they have the leaks in the first place.
5. Replace the Bathtub Overflow Drain
If your basement ceiling only leaks when someone is soaking in the tub, the overflow drain gasket is the culprit. Again, replacing this gasket is easy and inexpensive.
- Start by removing the overflow drain plate. It attached using 2 screws.
- If your bathtub has a trip-lever bathtub, it will be connected to the plate. Pull out the whole assembly.
- You can see the gasket and since you can wiggle the overflow drain, push it back a little and pull out the gasket using needle-nose pliers.
- Clean the groove before installing the new gasket.
- When installing the new gasket, make sure that the thin side is at the top and the thick side is at the bottom.
- Connect back the cover plate (and trip-lever stopper if applicable).
6. Unclog the Shower Drain
If you have a clog in your shower drain, baking soda and vinegar can break it down allowing it to drain fast. Pour I cup of baking soda down the drain followed by another cup of vinegar and after 15 minutes blast hot water down the drain.
You can also use a drain hair removal tool to pull out hair from the shower drain. A plunger or plumber’s snake will also help to clear the drain.
And basically that is what to do if you have water leaking through your ceiling after a shower. I hope you found this guide helpful.


