A kitchen sink receives water from the cold and hot water pipes and after the water is used for cleaning purposes it drains out from the bottom of the sink. For this to happen, several parts need to be assembled together and work seamlessly.

Here’s a brief list of different kitchen sink drain parts:
- Sink Drain Basket: The drain basket is the visible part of the drain assembly located at the bottom of the sink. It typically includes a strainer to catch food debris and a stopper to block the drain.
- Strainer Basket: This is the removable component of the drain basket that captures solid debris and prevents it from entering the drainpipe.
- Sink Flange: The sink flange is the upper part of the drain assembly that is installed on the sink basin. It connects the sink to the drainpipes below.
- Tailpiece: The tailpiece is a straight pipe that extends downward from the sink flange and connects to the P-trap. It carries water and waste from the sink to the trap.
- P-Trap: The P-trap is a U-shaped pipe that traps water and prevents sewer gases from entering the home. It is typically located beneath the sink and connects to the tailpiece and the drainpipe.
- Extension Tubes: These are additional pipe sections that can be used to extend or adjust the length of the tailpiece and P-trap to fit different sink configurations.
- Drain Pipe: The drain pipe carries water and waste from the P-trap to the main sewer or wastewater line. It is usually made of PVC or metal.
- Washer and Nut: Washers and nuts are used to secure various connections within the drain assembly, such as the sink flange to the sink basin or the P-trap to the drainpipe.
- Gaskets and Seals: Rubber gaskets and seals are used to create watertight connections between various drain components, preventing leaks.
- Cleanout Plug: A cleanout plug is a removable cap or plug located on the P-trap or other parts of the drain system. It provides access for cleaning and removing clogs.
- Vent Pipe (Not Part of Drain Assembly): The vent pipe is a separate component of the plumbing system that helps maintain proper air pressure in the drainpipes, preventing airlocks and ensuring smooth drainage. It extends through the roof of the house.
Before moving on further, let us start by looking at the kitchen sink drain parts plumbing diagram.
The Parts Diagram

So, what are the different parts of a kitchen sink drain? Let us look at all the parts of a kitchen sink drain in more details and also learn how they work.
Parts of a Kitchen Sink Drain
Most people hardly think of their plumbing unless there is a problem. What most people fail to know is that there are a few things you can do to keep your plumbing in good working conditions for longer.
As I go through the different parts of a sink drain, I will keep pointing out what you can to make sure that you don’t have to keep calling in the plumber to fix things for you.
The following are the parts of a kitchen sink drain:
1. Faucet
You cannot have a sink without a faucet. A faucet is connected to the sink’s hot and cold-water supply to provide you with water every time you need it. A kitchen sink can either have a single handle faucet or a double handle faucet.
With a double-handle faucet, one handle supplies cold water to the faucet while the other brings the hot water. Faucets with a single handle will also supply the sink with cold and hot water depending on which direction you turn the handle.
A kitchen sink faucet has the following parts:
- Cartridges
- O-rings/Washers
- Spout
- Aerator
When your turn the handle, the cartridge will determine if the water flows out or is shut off. O-rings and washers help to create a watertight seal especially when the faucet is turned off. Whenever you have a leaking kitchen faucet, you either have a worn out cartridge or washer, or sometimes both.
The spout is the pipe through which water comes out of, while a faucet aerator is the small attachment at the front of the spout which has very fine holes/nozzles. The function of the aerator is to mix air and water thereby reducing the flow.
Since their holes are so tiny, faucet aerators are often clogged by mineral deposits, pipe corrosions and other debris. Any time you have low water pressure in your kitchen sink that is the first place you need to check.
2. Water Supply Hoses
Kitchen sinks have 2 flexible water supply hoses underneath them that supplies the faucet with both cold and hot water. If you have a pull-out kitchen faucet and a dishwasher you will see more hoses under your kitchen sink.
With a dishwasher, a tee is installed on both the cold and hot water supply hoses. The tee ensures that both the sink faucet and the dishwasher are being supplied with water.
If you have low water pressure in your kitchen faucet and the aerator doesn’t appear clogged, check that the water supply hoses are not kinked. Kinked hoses will restrict the water flowing to the faucet.
3. Water Shut Off Valves
Water Shut off valves are the 2 oval-shaped or ring-shaped pieces underneath and at the back of the kitchen sink cabinet where the 2 water supply hoses are connected. They allow you the opportunity to turn off water to the sink and do repairs instead of turning off water to the whole house.
These valves can leak from time to time. The first thing you can do is to grab a wrench and tighten the compression nut and check if the leak stops.
If the leak persists it means that the washer is completely worn out and while you can replace the washer, getting a new valve is often the best option. These valves are in any case quite cheap.
4. Sink Strainer

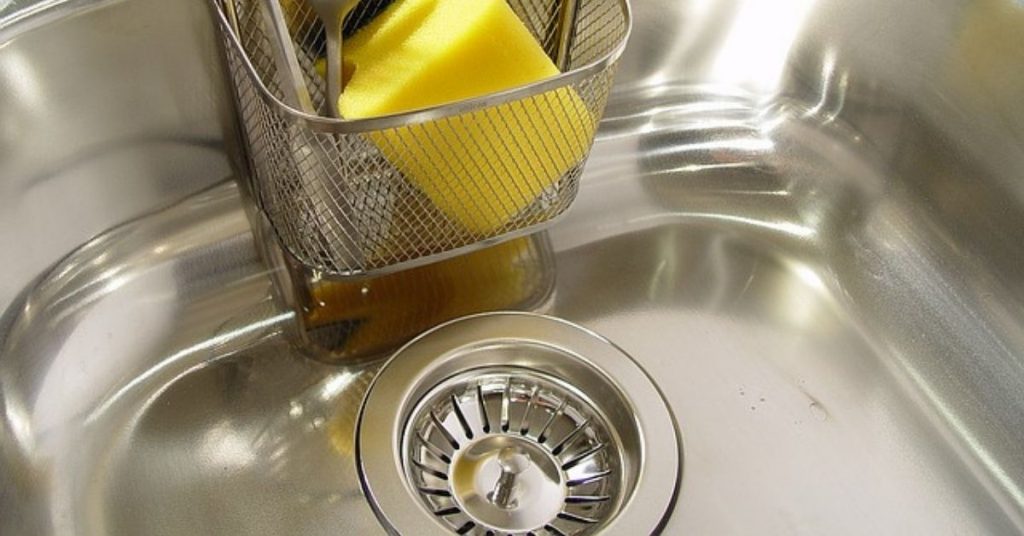
A kitchen sink strainer, also known as the flange is the finished part at the bottom of the sink. It allows water to flow out of sink and down into the drainpipe.
The kitchen sink strainer is tightly held in place by a locknut and washers from underneath the sink. Of all the kitchen sink drain parts this is the most problematic one. If you install this part incorrectly you will always have leaks.
To help the strainer create a watertight seal between it and the sink, a sealant (usually plumber’s putty or silicone caulk) is applied under its rim during installation. After years of usage, the sealant stats to erode and you will notice your kitchen sink leaking from the bottom.
To fix such a problem, you will only need to remove the strainer, apply a fresh bead of sealant and then install it back. I have written a detailed blog post on how to install a sink strainer using either plumber’s putty or silicone caulk. Read it here.
5. Locknut and washers
A locknut together with a rubber washer and friction washer are used to tightly hold the sink strainer in place thereby creating a tight seal. There are always 2 washers stacked at the top of the locknut.
The top washer is a rubber washer while the second is the friction washer usually made of other types of materials like cardboard. To have a good seal, it is important to make sure that the washers are threaded all the way such that they are in contact with the sink body.
Failure to push the washers will the way up will result in leaking sink drain no matter how much you tighten the locknut While plastic sink drainpipe connections are always hand tight, I like to give the locknut a ¼ turn with a pair of slip-joint pliers to prevent leaks.
some kitchen sink drains have a another part called a basket installed between the washers and the locknut. The washers should be stacked nicely at the top of the basket and held with one hand as you tighten the locknut.
6. Drain Trap/P-trap

A kitchen sink drain trap commonly known as a P-trap is the U-shaped bend of the drainpipe. Most people don’t give attention to it but the shape of the trap is by design and not accident.
As a matter of fact, every fixture in your house with a drain has a P-trap. You may however not see the one in your shower/bathtub drain.
A P-trap has 2 main functions:
- It contains a little amount of water at all times which acts as a barrier preventing sewage smells from coming up to your kitchen through the drain. If you travel for a few days, the water in the trap will evaporate and that’s is the number one reason you will have a sewer smell in your kitchen after coming back from vacation.
- It prevents the drainpipe from clogging farther away by trapping potential drain clogs there. Unclogging a kitchen sink P-trap is way easier that trying to remove a clog deep inside the drainpipe.
When you are dealing with a clogged kitchen sink drain, there are various ways to fix the clog. Personally, I like to remove and clean the trap. Since most of the times the clog is located in the trap, this method works really well and only takes about 5 minutes.
If you have a slow draining kitchen sink and the P-trap is not clogged, you could be dealing with a partially clogged main house drainpipe or a blocked vent stack.
This problem will however affect all the drains in your house and not just the kitchen sink drain. For more information on how to check if the vent stack is clogged and how to unclog it check out this post.
7. Tailpiece
A kitchen sink drain tailpiece (same as a bathroom sink) is the vertical pipe that connects the P-trap to the sink strainer from underneath the sink using a locknut. The length of the of the tailpiece is not constant and you need to cut yours depending on how high or low your sink is.
If you have a double bowl kitchen sink, the 2 sinks bowls shares the same P-trap and drainpipe. In that case, the second sink is connected to the sink connected to the trap using a tee on the tailpiece.
If you look at a P-trap carefully, you will notice that it has a short arm and a long arm. The 2 arms are not interchangeable.
It is very important to make sure that the P-trap’s long arm is connected to the tailpiece while the short arm is connected to the drainpipe’s elbow. If you interchange them you are going to have a very poor drainage.
8. Garbage Disposal

A garbage disposal is a small unit with rotary blades that is installed just below the kitchen sink’s drain opening to grind and flush out food wastes. The garbage disposal is connected to the kitchen sink draining using a bracket installed and fastened on the strainer flange.
You can either have a continuous or a batch garbage disposal. A continuous garbage disposal is one which waste can be added continuously as it grinds while a batch garbage disposal is one which you put a fixed amount of waste and wait for it to be grinded before adding more.
If you have installed a garbage disposal in a double bowl kitchen sink, the garbage disposal is usually connected to the drain trap using a drain hose which forms a tee at the tailpiece. Whenever you have a slow draining garbage disposal, a clogged drain hose is usually the culprit most of the times.
If you have a dishwasher, its drain hose is usually connected to the garbage disposal using a drain hose from the side which is secured using a metal clip. The dishwasher drain hose is susceptible to clogs and it should be the first place you check in case of a slow draining or dishwasher that won’t drain.


