Is water leaking or dripping from your bathtub faucet? You are not a lot alone. That is a problem that will affect every homeowner after every few years.
A leaking bathtub faucet is not only annoying, but expensive if left unfixed for a while. But what causes a bathtub faucet to start leaking, or continuously dripping water into the tub?
A leaking bathtub faucet is caused by a worn out washer. The washer is used to create a watertight seal by pushing hard against the faucet seat. Friction between the washer and the faucet seat as the faucet turns causes it to wear out and as a result the faucet starts to leak.
If your bathtub faucet leaks when the shower is on, you have a defective shower diverter. A shower diverter is the small knob at the top of the bathtub spout, which if pulled up blocks the spout forcing water to flow out from the showerhead.
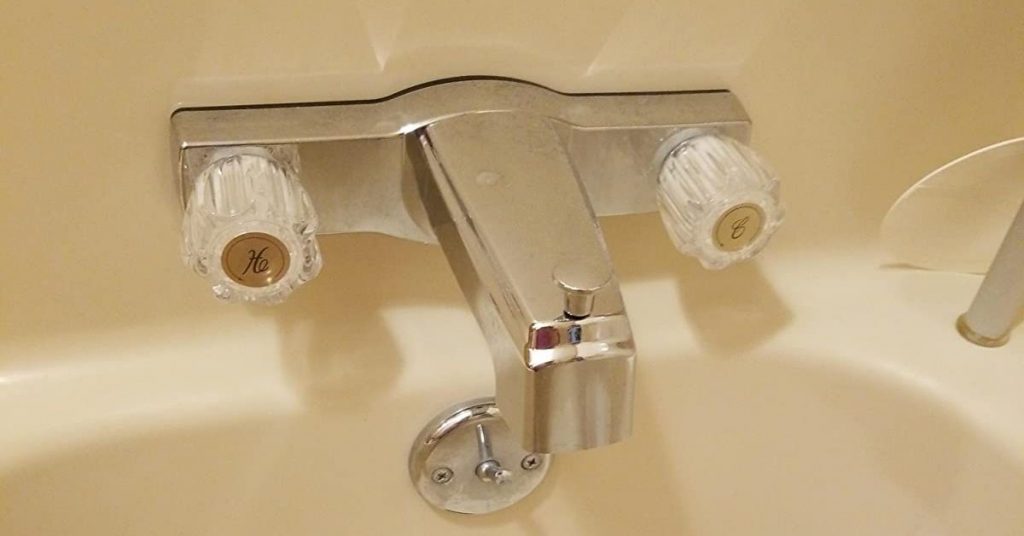
I have written an article on how to fix a stuck shower diverter in this post.
Here is how the connection looks like: You have the faucet handle which is connected to a stem. A rubber washer is then screwed to the front of the stem. When you turn the handle to shut the faucet, the stem turns as well and pushes forward, squeezing the washer against the faucet seat.
When you want water to flow out of the tub spout, you turn the faucet handle in the opposite direction, a move which forces the stem to turn as well and in the process pull the washer from the faucet seat.
The constant pushing and pulling of the rubber washer against the faucet seat causes it to wear out and soon the faucet starts to leak. Hot water also accelerates this problem more than cold water.
To fix a leaking bathtub faucet, you need to replace both the faucet washer and seat. A worn out washer means that there is a metal-to-metal interaction between the stem and the seat, causing the seat to burr.
In a nutshell, a leaking bathtub faucet can be caused by worn-out or damaged washers, O-rings, or valve seats within the faucet. To fix it, you typically need to disassemble the faucet, replace the faulty components, and reassemble it, ensuring a tight seal to stop the leak.
A burred faucet seat will tear a new washer and the bathtub will start to leak again.
Types of Bathtub Faucets
It is important to know the type of bathtub faucet you have before proceeding to fix it. There are 2 main types of bathtub faucets:
- Single-handle bathtub faucet
- Two-handle bathtub faucet.
A single-handle bathtub faucet as its name implies has a single handle which is used to turn on the water, increase pressure, as well as select whether hot and cold. They are mostly fitted with anti-scald devices and can be used with both diverter and non-diverter bathtub spouts.
Two-handle bathtub faucets have 2 handles, one dedicated for hot water and the other for cold water. If you are not sure where exactly the problem is with this type of a faucet it can take you quite a while to fix since you will need to work on both of them.
Let us now look at how you can fix a leaking bathtub faucet starting with a two-handle tub faucet.
How to Fix a Leaking Bathtub Faucet
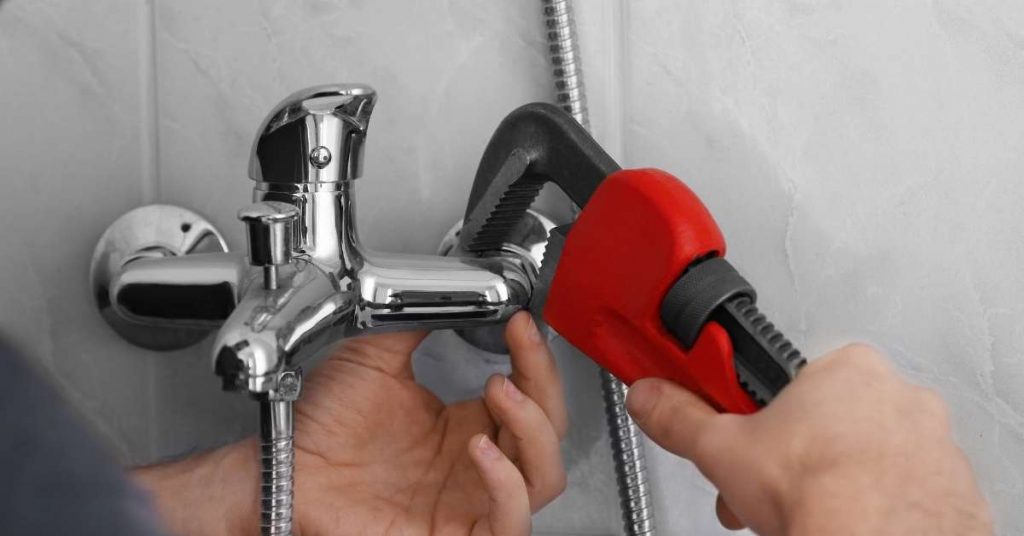
The first thing to do here before getting down to business is to gather together all the tools and materials needed for the job. These are:
- Faucet repair kit
- Philips screwdriver
- Flathead screwdriver
- Adjustable wrench
- Faucet seat wrench
When you finally have all your supplies proceed as below:
1. Is it a Hot or Cold Water Leak or Both?
The first thing to do is to determine if the leaking water from your faucet is cold or hot. That will give you an idea of which tub faucet washer you need to replace. Note that if you don’t want to do another repair for some time, it is best to replace the 2 washers and seats.
Most often than not you will find out that the water is hot/warm. This is because hot water causes the washer to expand more than cold water. Constant expansion of the washer causes it deform and therefore easy to wear out when it comes into contact with the faucet seat.
2. Turn Off the Water.
You should always turn off the water supply to the bathtub faucet before fixing this problem. Failure to do that will flood your bathroom with water.
Dash to the basement or wherever you water shut off valve is located (usually near the water meter) and turn off the water. If you see a gate valve turn it all the way clockwise. On the other hand if you have a ball valve make sure that the lever is at a 90 degrees angle to the pipe.
After that open both the cold and hot water faucets to drain out all the water trapped in the pipe. Wipe the bathtub clean and plug off the drain hole to prevent anything from falling down the drain.
3. Remove the Faucet Handle

- Use a flathead screwdriver to pry off the small cap at the front of the faucet handle. If you don’t have a small-sized screwdriver a pocket knife will work just fine.
- When the cap is off, you will see a long screw that attaches the handle to the stem. Use the Philips screwdriver to remove it by turning it counterclockwise. After removing the screw simply slide out the faucet handle.
- Depending on the type of faucet you have, you might also have a cover plate (escutcheon) around the faucet. Use the screwdriver to remove the cover plate (screw on the front or side) as well.
- Again, depending on the faucet you have, there will be a sleeve (stop tube) which is usually hand tight and all you have to do is loosen it and slide it out.
4. Remove the Faucet Stem and Seat
- Use an adjustable wrench to remove the stem nut by turning it counterclockwise and pull the stem out.
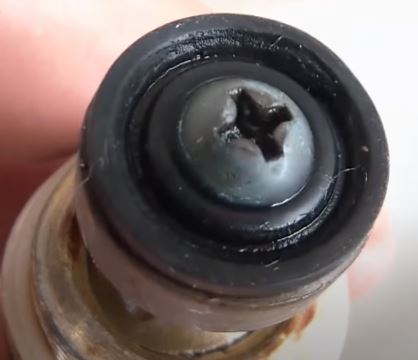
- Check the condition of the washer. The washer is the small rubber piece at the tip of the stem, usually attached to it using a screw. In most cases when you are dealing with a leaking bathtub faucet this washer will be worn out.
- Grab a flashlight and check at the condition of the faucet seat. The faucet seat is the small brass piece at inside the faucet opening. If it is in a good condition you may opt not to replace it, but my advice would be that you just replace it as well. It’s quite cheap and easy to replace.
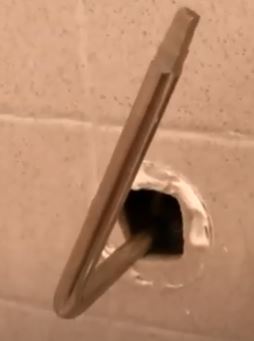
- A faucet seat wrench looks like an Allen wrench. Just push it inside the faucet opening, engage the seat and turn it counterclockwise. When it is completely free pull it out.
5. Replace the Faucet Washer and Stem
- Use the Philips screw driver to remove the faucet washer screw. Once it is out pop out the washer. Make sure that the grove where the washer seats is clean before installing the new one.
- Push the new washer inside the groove, making sure that all its edges are inside the groove. New washers are not as flexible as old ones and you might have to have it in. You can buy a kit with lots of washers and screws from your local home improvement store for about $2.
- Once the washer is sitting pretty in the groove secure it with a new faucet seat screw.
- Attach the new faucet seat to the to the seat wrench and screw it in place. Do not however overtighten it lest you strip the threads.
6. Connect the Faucet Handle Back
- Slowly connect the stem back. You want to start off slowly to make sure that you engage the threads and they are not crossed. Hand tight the stem lock nut before tightening with a wrench.
- Screw in the sleeve/stop tube. This should only be hand tight.
- When the stop tube is tight, align the cover plate with the screw holes and fasten it in place using the Philips screwdriver.
- Slide in the faucet handle and secure it in place as well using a screwdriver. Pop in the handle cap.
7. Test the Faucet
- Turn on the water supply to the bathtub faucet and check if the leak has disappeared.
- Turn the faucet on and off just to confirm that the water is shutting off precisely as it should.
And that is how to fix a leaking 2-handle faucet. In this illustration, I just showed you how to fix one faucet (hot/cold) because fixing the other one is the same exact process. If you have time and the supplies you can opt to replace both the faucet washers and seats.
Let us now look at how you can fix a leaking single-handle bathtub faucet. The fact of the matter is that the process is almost the same, save for some few minor differences.
How to Fix a Leaking Single-Handle Bathtub Faucet
These are the steps to follow when fixing a leaking single-handle bathtub faucet:
1. Remove the Handle
- Shut off the water to the bathtub. Once the water supply has been shut off, open the faucet to drain all the water still left in the pipe. Wipe the tub dry and plug off the drain. You don’t want to lose a screw to the drainpipe.
- Look for a screw under the faucet handle. Turn the handle upwards for ease of remove. You will then need to use the correct size of Allen wrench to loosen the screw. Once loose slide the handle out.
- You will now see a ring where the handle wax fixed. Use a wrench or pliers to disconnect it by turning it counterclockwise.
- There will also be a sleeve exactly where you removed the ring. The sleeve is not threaded to anything so you just need to slide it out.
- Once the ring and sleeve are out you only need to grab the cartridge with your hand and pull it straight out.
- There will be an O-ring round the faucet cartridge. Inspect it for damages. My advice would be that you replace the O-ring no matter its condition. That will give you the peace of mind of not having to worry about a leaking faucet for some years to come.
- Next grab a flashlight and look inside the faucet opening. You will see 2 washers, one on the cold water line and the other on the cold water line. These washers are usually backed up by a spring on the rear side.
- Whenever your single-handle bathtub faucet is leaking, these 2 washers are usually the culprit. Pull them out using a flathead screwdriver. You will need to replace both the washers and the springs.
- Before putting the new washers and springs, use a small rag and with the help of a screwdriver clean the grooves to remove any debris or mineral build up.
- Connect each spring on the groove at the back of the washer and again using the screwdriver push them in the cold and hot water lines.
- Replace the O-ring on the cartridge and push it (the cartridge) back in its slot.
- Now put in the sleeve and the ring and tighten them together, but not crazy tight.
- Slide in the faucet handle and secure it with the screw.
- Turn on the water and put the faucet to the test.
And basically that is how you fix a leaking single-handle bathtub faucet. If you know the type of faucet you have, just head to the nearest home improvement store and buy a repair kit which again is not more than $2.
How to Fix a Bathtub Faucet without Turning off the Water
It is actually possible to fix or replace a bathtub faucet without turning off the water to the whole house. This will however depend on the type of plumbing you have.
- Remove your faucet handle and cover plate.
- Look for 2 screws, one on each side of the pipes (cold and hot) that meet at the mixing valve.
- Using a screwdriver, turn these screws clockwise, to turn off the water to the valve.
- Now you can work on your faucet.

That is the only way to fix a bathtub faucet without turning off the water in your house.


