Think about all the water pipes exiting through walls in your house? Imagine there was no way of hiding the ugly hole through which the pipes come out from. That is where an escutcheon comes in.
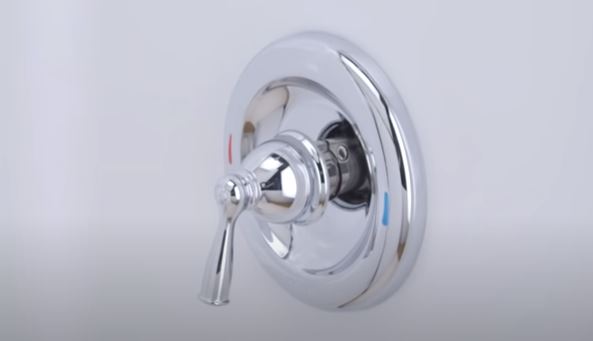
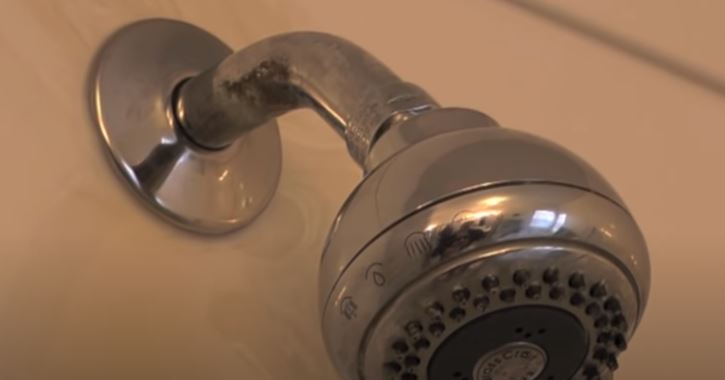
An escutcheon is a piece of plate or ring usually made of metal that is used to cover the holes on the wall where pipes exit from, especially when installing faucets and shower heads. It is also known as a cover plate, flange or trim plate.

Escutcheons, (pronounced as a ess-catch-on) are installed for decorative purposes. Without them, there would be ugly holes everywhere there is a pipe exiting the wall in the house. They also prevent water from entering inside the wall, especially in the shower.
Escutcheon plates are usually attached to the wall using screws but some are threaded in or fastened against the wall using a locknut. To prevent water from sipping through the escutcheon and into the wall, some are usually caulked on the wall.
In plumbing, escutcheons are use to install faucets, shower heads and water supply pipes to sinks, toilets and other fixtures. Outside plumbing escutcheons are used while installing door locks, key holes and other structures.
Again, think about a door lock without the escutcheon plate? Very unsightly!
Although escutcheons don’t do anything save for their aesthetic aspect, their finish peel off and you may therefore need to replace them. Replacing an escutcheon is quite very easy and you will only need a Philips screwdriver, Allen wrench, flathead screwdriver and sometimes an adjustable wrench.
It is however a little harder to remove the escutcheon plate under your kitchen/bathroom sink or back of the toilet. This is because you will first need to remove the water shut off valve.
How to Replace a Shower Faucet Escutcheon

Your shower faucet will have one, two or three escutcheons depending on the whether you have a single, double or 3-handle faucet. Nonetheless, replacing them is quite easy and every homeowner can do it.
This is how to replace a faucet escutcheon:
- If you have a single-handle shower faucet, the handle will be connected to the stem using an Allen screw on its underside. Remove the screw using an Allen wrench and slide out the handle
- With a double or three-handle shower faucet, the handle will be attached to the valve using a Philips screw. The screw is hidden by a small cap at the front of the handle. Pry off the cap with a knife to reveal the screw head. Remove it with a screwdriver.
If you have a double or 3-valve shower faucet that you would like to replace with a single-handle faucet, you will need to cut through the bathroom wall to replace the shower valve as well.
This will also give you the chance to replace your old shower mixing valve with a modern pressure balancing valve or a thermostatic one. The good thing is that there are big escutcheon plates to fit and hide the hole you made on the wall. Check out this video for more on that.
- With the handle out, check how the escutcheon is attached to the wall. If there is a small nut, grab it with a wrench and turn it counterclockwise to loosen and remove it.
- Some escutcheons have no nuts. You just need to grab it with your hand and turn it to loosen it.
- Most of the escutcheons will however be attached to the wall using one or two screws. Loosen the screws with a Philips screwdriver and push out the escutcheon with a flathead screwdriver from the edges.
Note: If the escutcheon is caulked to the wall, you will first need to cut through the caulk with a putty knife. You may also need to tap the escutcheon gently with a hammer to completely freely it.
- Install the new escutcheon. If it needs to be threaded-in then go ahead and thread it in, or secure it with screws if that is how it is designed to be installed.
- For a single faucet handle, slide it in the valve stem and secure it with the Allen screw.
- With a 2 or 3-valve faucet handle, push in the handle and secure it with the screw. Pop in the small cap.
- If you have to caulk the escutcheon on the wall, apply a thin bead of caulk all round it then run your finger firmly to create a uniform bean. Wipe off excess caulk with a rag.
And basically that is how to replace a shower faucet escutcheon.
How to Replace a Shower Head Escutcheon

A shower head escutcheon is the easiest of all to replace. It will either only be caulked to the wall or secured against the shower arm using screw.
In order to replace a shower head escutcheon, you will first need to remove the shower head. Grab the shower head with your arm and turn it counterclockwise to loosen and remove it. More on that here.
If the shower head is too tight, you will need a wrench to loosen it. The only risk with this method is that you may loosen the shower arm as well, which may cause water to leak inside the wall.
Grab the shower head-arm connector with a wrench and back off the shower arm using another wrench. To prevent the finish from peeling off, apply electrical tape on the shower arm.
This is also another good chance to clean your shower head and improve its water pressure. For more on that, check out this post.
Check how the escutcheon is secured on the wall. Remove the screw if there is any or just cut through the caulk with a knife and slide it out.
Slide in the new escutcheon and attach it on the wall through the method indicated. If there is old caulk on the wall make sure you scrape it off before installing the new one.
Apply about 6 wraps of Teflon tape on the shower arm threads and connect the shower head. If there was old Teflon on the threads, you will need to clean them first with a toothbrush or wire brush.
Replace escutcheon that have a water shut off valve blocking them are a little harder for the average home owners since some of the valves are soldered in and will need a torch to remove.
Kitchen/Bathroom Sink Escutcheon

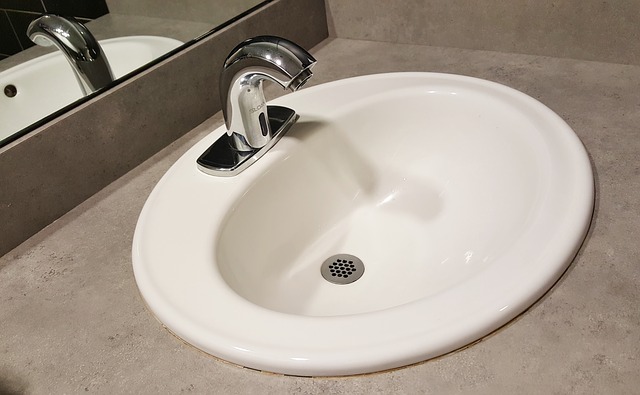
Bathroom and kitchen sinks come with predrilled hole through which faucets are installed. Since the faucets do not cover the entire holes, you will need escutcheon plates to do that.
The type of escutcheon plates used to install sink faucets are also called deck plates. The process of removing and replacing one is the same as that of replacing the entire faucet.
There is a nice video on You Tube detailing exactly what you need to do. Watch it here.
