A clean and efficient oven vent, or range hood, is essential for maintaining a fresh and healthy kitchen environment. Over time, grease, grime, and cooking residues can accumulate in the vent, compromising its performance and even posing fire hazards. In this comprehensive guide, we will walk you through the step-by-step process of cleaning your oven vent, from understanding its components to implementing effective cleaning techniques.

By following this guide, you’ll ensure that your kitchen remains odor-free, your appliances function optimally, and your cooking experiences are as enjoyable as ever.
Understanding Your Oven Vent
Before diving into the cleaning process, it’s essential to understand the various components of your oven vent system and their respective roles:
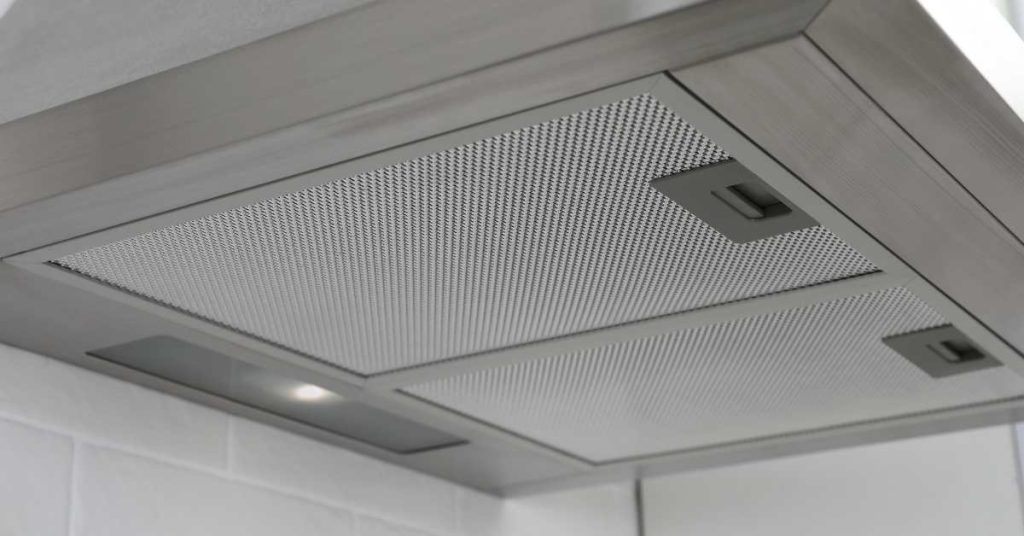
- Hood Enclosure: The hood enclosure is the visible part of your range hood, designed to capture smoke, steam, and odors produced during cooking. It is typically made of stainless steel or another easy-to-clean material, and regular cleaning of both the interior and exterior surfaces is crucial to prevent grease buildup.
- Fan: Nestled inside the hood enclosure, the fan is responsible for sucking in air laden with cooking byproducts and expelling it outside. Dust and debris can accumulate on the fan blades over time, hampering its efficiency and leading to unpleasant odors. Regular cleaning of the fan blades is essential to maintain optimal airflow.
- Grease Filters: Grease filters, whether metal or charcoal, play a critical role in trapping grease particles and preventing them from clogging the ductwork. Metal filters can be washed with warm, soapy water, while charcoal filters need replacement periodically. Cleaning or replacing these filters regularly ensures optimal airflow and prevents grease buildup.
- Ductwork: The ductwork channels the air from the hood to the outside of your home. While cleaning the ductwork is essential for maintaining proper ventilation, it’s a task best left to the professionals due to its complexity and specialized equipment requirements.
Signs Your Oven Vent Needs Cleaning

Before embarking on the cleaning process, it’s essential to identify whether your oven vent is due for maintenance. Look out for the following signs:
- Reduced Suction Power: If you notice a decrease in the suction power of your range hood, it may indicate that the vent is clogged with grease or debris.
- Lingering Odors: Persistent odors in your kitchen, even when the range hood is running, suggest that grease and cooking residues have accumulated in the vent.
- Visible Grease Buildup: Take a closer look at the interior surfaces of your hood enclosure. If you spot visible grease buildup or stains, it’s time for a thorough cleaning.
- Increased Noise from the Fan: A noisy fan may indicate that the blades are coated with grease or debris, causing them to work harder to maintain airflow.
Tools and Supplies Needed
Before you begin cleaning your oven vent, gather the following tools and supplies:
- Screwdriver (if needed for removing parts)
- Bucket or sink filled with warm, soapy water
- Soft-bristled brush or sponge
- Microfiber cloth or paper towels
- Degreasing cleaner or mild detergent
- Protective gloves and eye gear
- Vacuum cleaner with brush attachment
- Replacement charcoal filters (if applicable)
Preparing for Cleaning
Before diving into the cleaning process, take the following preparatory steps:
- Turn off Power: Ensure that the power to the range hood is turned off to prevent any accidents while cleaning.
- Protect Surrounding Surfaces: Lay down towels or newspaper to protect surrounding surfaces from drips and splatters during cleaning.
- Remove Removable Parts: Take out any removable parts, such as grease filters and fan blades, for separate cleaning.

Cleaning the Hood Enclosure
Follow these steps to clean the hood enclosure of your oven vent:
- Exterior Surfaces
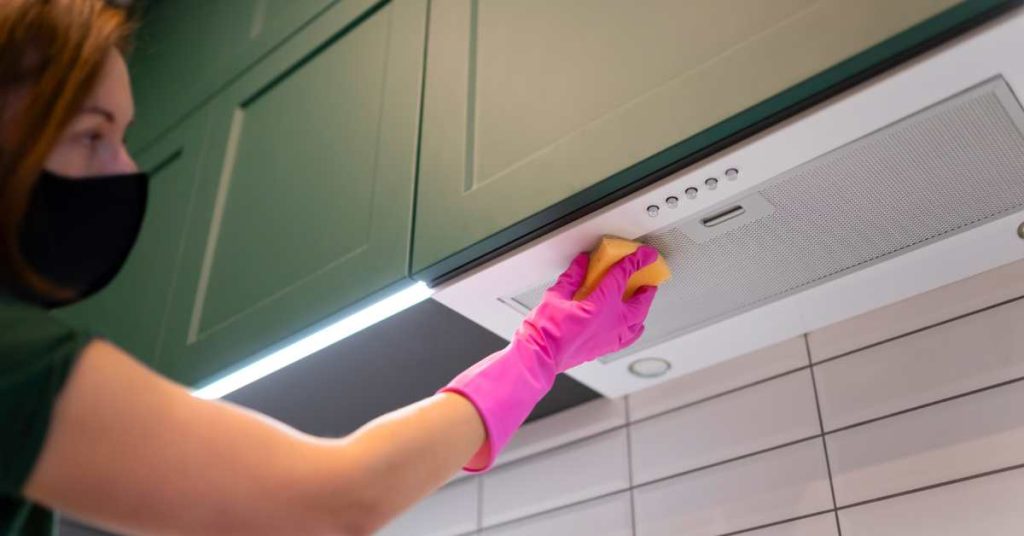
- Wipe down the exterior surfaces of the hood enclosure with a microfiber cloth dampened with a degreasing cleaner or mild detergent.
- Pay special attention to areas prone to grease buildup, such as the area around the stove.
- Interior Surfaces
- Remove any loose debris from the interior surfaces of the hood enclosure using a soft-bristled brush or vacuum cleaner.
- Wipe down the interior surfaces with a sponge or cloth dampened with warm, soapy water.
- For stubborn grease stains, use a degreasing cleaner and allow it to sit for a few minutes before wiping clean.
- Drying and Reassembly
- Thoroughly dry the hood enclosure with a clean microfiber cloth or paper towels.
- Once dry, reassemble any removable parts, such as grease filters and fan blades.
Cleaning the Fan
Here’s how to clean the fan of your oven vent:
- Removing the Fan Blades
- Refer to the manufacturer’s instructions for removing the fan blades from the hood enclosure.
- Use a screwdriver, if necessary, to loosen any screws holding the fan blades in place.
- Cleaning the Fan Blades
- Use a vacuum cleaner with a brush attachment to remove dust and debris from the fan blades.
- Alternatively, soak the fan blades in warm, soapy water to loosen grease and dirt, then scrub gently with a soft-bristled brush.
- Rinse the fan blades thoroughly with clean water and allow them to dry completely before reinstallation.
- Cleaning Surrounding Areas
- While the fan blades are removed, take the opportunity to clean the surrounding areas inside the hood enclosure.
- Use a damp cloth or sponge to wipe down the interior surfaces, paying close attention to any crevices where grease and dirt may accumulate.
Cleaning Grease Filters

Follow these steps to clean the grease filters of your oven vent:
- Removing the Grease Filters
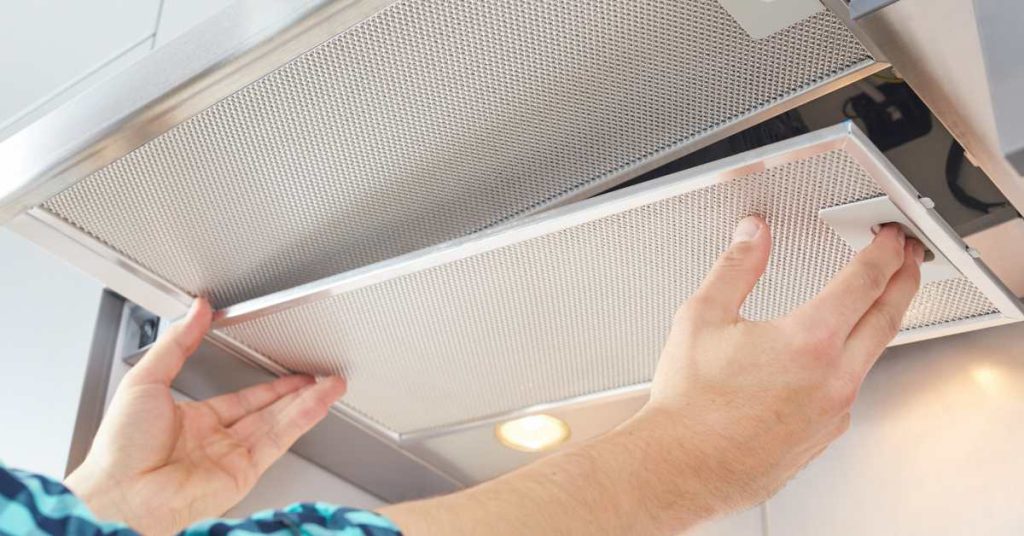
- Refer to the manufacturer’s instructions for removing the grease filters from the hood enclosure.
- Most metal filters can be easily removed by sliding them out from their slots, while charcoal filters may require unscrewing.
- Cleaning Metal Filters
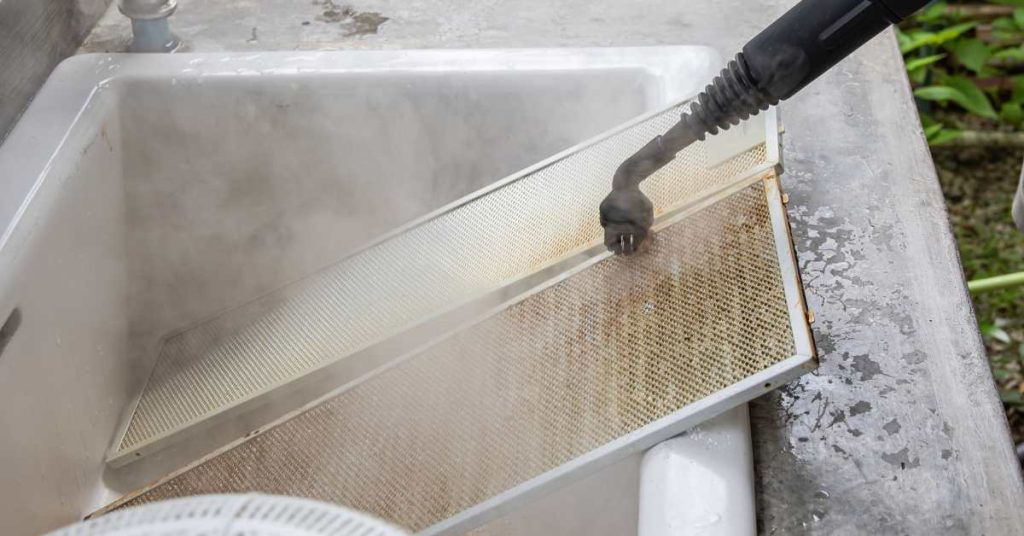
- Fill a sink or bucket with warm, soapy water and submerge the metal filters.
- Use a soft-bristled brush or sponge to scrub the filters, paying close attention to areas with heavy grease buildup.
- Rinse the filters thoroughly with clean water and allow them to dry completely before reinstallation.
- Replacing Charcoal Filters
- If your oven vent uses charcoal filters, they are not reusable and should be replaced according to the manufacturer’s instructions.
- Check the condition of the charcoal filters regularly and replace them when they become saturated with grease and cooking residues.
Professional Maintenance and Inspection
While regular cleaning is essential for maintaining your oven vent, some tasks are best left to the professionals. Consider the following:
Benefits of Professional Cleaning
- Professional oven vent cleaning services have the expertise and specialized equipment to thoroughly clean and inspect your vent system.
- They can identify and address potential issues, such as blockages in the ductwork, that may compromise the efficiency of your ventilation system.
When to Schedule a Professional Inspection
- Consider scheduling a professional inspection of your oven vent system at least once a year, or more frequently if you notice any of the signs mentioned earlier, such as reduced suction power or lingering odors.
Tips and Tricks for Effective Cleaning
To make your oven vent cleaning experience more efficient and effective, consider the following tips and tricks:
- Regular Maintenance: Incorporate oven vent cleaning into your regular kitchen cleaning routine to prevent excessive buildup of grease and grime.
- Use Natural Cleaners: Opt for environmentally friendly cleaning solutions, such as vinegar and baking soda, to avoid harsh chemicals that may damage the surfaces of your vent.
- Ensure Proper Ventilation: Open windows or turn on exhaust fans while cleaning to ensure adequate ventilation and minimize exposure to cleaning fumes.
- Involve Family Members: Make oven vent cleaning a family activity by assigning tasks to each family member. Not only does this lighten the workload, but it also instills a sense of responsibility for maintaining a clean and healthy kitchen environment.
- Inspect Regularly: Periodically inspect your oven vent for signs of wear and tear, such as loose screws or damaged components. Addressing these issues promptly can prevent further damage and extend the lifespan of your vent system.
Conclusion
A clean and well-maintained oven vent is essential for ensuring a healthy and comfortable kitchen environment. By understanding the components of your oven vent system and following a regular cleaning routine, you can maintain optimal performance and prolong the lifespan of your appliance. So, roll up your sleeves, gather your cleaning supplies, and give your oven vent the attention it deserves. Your kitchen—and your taste buds—will thank you for it!
