A kitchen faucet leaking at the base can be a common issue, and there are several potential causes. Here’s a brief summary of the causes and what to do when you encounter this problem:
Causes of Kitchen Faucet Leaking at the Base
- Loose or Worn O-Ring: The O-ring, which seals the faucet’s various components, can become loose or deteriorate over time, leading to leaks at the base.
- Corroded Valve Seat: A corroded valve seat, located within the faucet body, can result in leaks.
- Loose or Damaged Handle: A loose or damaged faucet handle can cause water to leak at the base.
- Worn Cartridge: The cartridge, which controls water flow, may wear out or develop cracks, causing leaks.
- Improper Installation: If the faucet was not installed correctly, it may not form a watertight seal at the base.
What to Do When Your Kitchen Faucet Leaks at the Base
- Turn Off the Water: Locate the shutoff valves beneath the sink and turn them clockwise to shut off the water supply to the faucet.
- Remove the Handle: Use a screwdriver or Allen wrench to remove the screw securing the handle. Carefully lift off the handle once the screw is removed.
- Inspect the Components: Check the O-ring, valve seat, cartridge, and handle for signs of damage, wear, or corrosion.
- Replace Faulty Parts: Depending on what you find, replace the damaged or worn components with suitable replacements. Lubricate O-rings with plumber’s grease before reassembly.
- Reassemble the Faucet: Reattach the handle, ensuring proper alignment, and secure it with the screw. If applicable, ensure that the faucet body is properly seated on the sink or countertop.
- Turn On the Water Supply: Gradually turn on the shutoff valves to restore water flow to the faucet.
- Test for Leaks: Turn on the faucet and check for any leaks around the base. Make sure the faucet operates smoothly.
- Make Adjustments: If leaks persist, recheck the components for proper installation and make any necessary adjustments.
- Cleanup: Clean up your work area and dispose of any debris.
How do I stop my kitchen faucet from leaking from the base?
From experience, the most common cause for a kitchen faucet leaking from the base is problems with the O-rings. Either the O-rings are worn out or debris/mineral deposits have collected around them preventing them from sealing properly.
The O-rings (can be one or two in a single faucet) are usually installed inside the spout in a double-handle (goose-neck) faucet and on the stem in a single-handle faucet. As the water flows out of the cartridge, it leaks out of the faulty O-rings due to gravity.
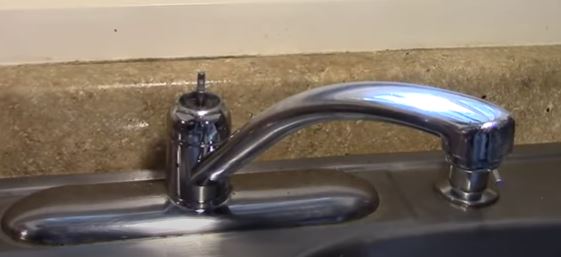
Let us start with the solution to a single-handle kitchen faucet leaking from the base.
Single-Handle Kitchen Faucet

You will need the following tools and materials to do the job:
- A small flathead screwdriver or sharp knife
- Towel (kitchen towel or hand towel)
- Adjustable wrench or slip-joint pliers
- Replacement O-rings
After collecting all the materials, it will only take you less than 10 minutes to fix the faucet. You should buy the O-rings well in advance. If you take a picture of the faucet to any home improvement store, their specialists will easily identify the faucet and give you the correct O-ring sizes.
1. Remove the Faucet Handle

The faucet handle is attached to the rest of the faucet using a hex screw. The hex screw is however mostly hidden by a small plastic cover underneath the handle.
Remove the cover using the flathead screwdriver or knife. Once you have removed the cover, use an Allen wrench to loosen the screw.
You don’t have to remove the screw all the way out. If you do, try not to drop it down the drain. You should therefore plug off the kitchen sink well in advance.
Lift off the handle.
2. Remove the Spout
Before removing the spout you will first need to remove the collar/dome.
This is the small part which looks like a dome or sometimes a round collar that holds the spout tightly in place. In most of the time it is usually threaded but it could also just be pushed down and all you have to do is pull it out.
If it is threaded, grab it with a wrench or pliers and loosen it. You may want to wrap the towel around it to prevent scratching it with the pliers.
Place the towel at the back of the faucet to catch the little water that will come out once you lift off the spout.
Lift off the spout. You will need to wiggle it a little as you lift it out since it will be held by the O-rings. Wipe off the little water with the towel.
3. How to Replace the Faucet O-rings

Look at the status of the O-rings. Do they look worn out? Are there mineral deposits or even debris around them?
As I had mentioned, cleaning the O-rings may be enough to fix the problem but I prefer replacing them. Faucet O-rings are after all quite cheap.
- Use the flathead screwdriver or sharp knife to remove the O-rings. An O-ringer picker is a better tool for this job but few people have them anyway. Don’t worry if the O-rings get damaged since you don’t intend to reuse them.
- To help you have a watertight seal. Clean the O-ring grooves with a rag and remove all dirt and mineral deposits. Apply grease inside the grooves and around the O-rings.
- To install the new O-rings, you need to be careful not to damage them. I like to loop a string through the O-ring which helps me expand it as I push it over the cartridge. Once the O-ring is in the groove I simply pull out the string.
4. Connect Back the Spout and Handle
Use a rag or towel to clean the inside of the spout’s neck. Don’t forget the seal at the top of the spout neck. Clean it and apply some grease on it as well.
Since you have new O-rings, you will need to force the spout over them by pushing it down a bit forcefully Just be careful not to damage them.
- Connect back the dome/collar and attach the handle. Screw in the hex screw and put the plastic cover back.
- Turn on the faucet and check if the leak has disappeared. The leak should go away after that repair.
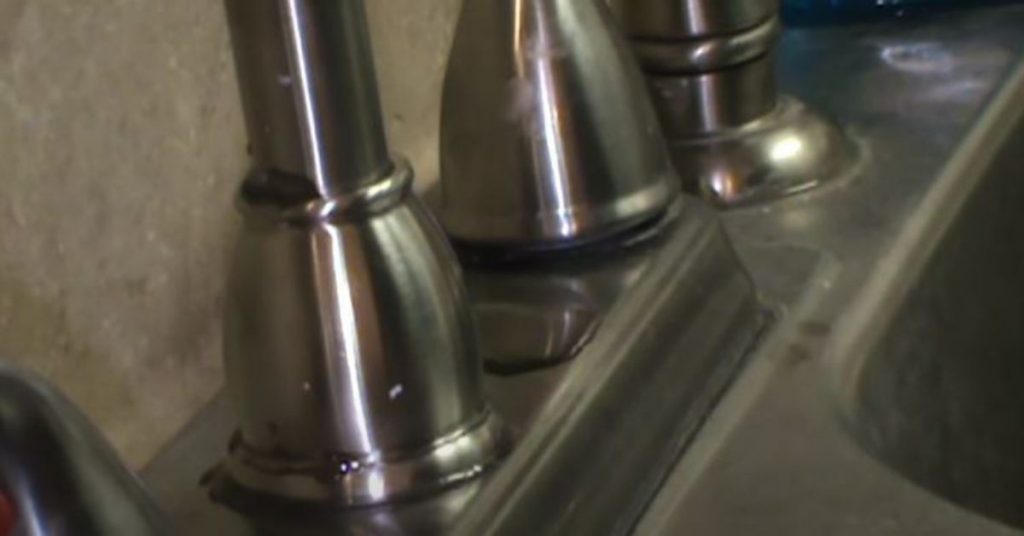
Double-Handle Kitchen Faucet

Just like with single-handle kitchen faucets, double-handle kitchen faucets have 1 or 2 O-rings, only that in this case they are found on the spout. These types of faucets are also known as goose-neck faucets due to the long and curved shape of their spouts.
Replacing the O-rings in double-handle kitchen faucets is way easier and fast compared to single-handle kitchen faucets. Here is how to do it:
1. Disconnect the Faucet Spout
The faucet spout is connected to the bottom part of the faucet using a collar. You will need a pair of pliers to loosen the collar.
To avoid scratching off the finishing from this collar, wrap a towel around it and grab it with the pliers. Loosen it and unscrew it with your hand until it is completely free.
Pull the spout straight up. Again, there will be some water that will flow out once the sprout is pulled out. Wipe it off with the towel.
2. Replace the O-rings
- Pull the collar all the up the spout to reveal the O-rings (could be one or two).
- If the O-rings are in good condition but dirty due to dirt or debris, consider cleaning them and reusing them. Again, my preference is a replacement.
- Remove the O-rings with a sharp knife or flathead screwdriver.
- Clean the grooves with a rag and apply some grease.
- Slide in the O-rings and once nicely positioned inside the grooves apply some grease around them as well.
3. Install the Faucet Spout
- Push the spout down in the faucet until you hear it click. Since the O-rings are new, you will need to apply more force to force it down.
- Screw the collar with your hand and one hand tight tighten it further with the pliers. Don’t forget to use the towel lest you peel off the finish.
- Turn on the faucet and check if the leak has stopped.
And basically that is how to fix a kitchen faucet leaking from the base.
If the kitchen faucet is leaking from the base throughout even when the faucet is turned off, you will need to replace the cartridge. There is fantastic video on You Tube about the same. Watch it here.
If you have a leaking Moen kitchen faucet I have written a detailed guide on how to fix it. Read it here.