Replacing a shower arm is a straightforward DIY task that can improve the functionality and appearance of your shower. Here’s a summarized guide on how to do it:
Materials Needed:
- New shower arm
- Pipe thread seal tape (Teflon tape)
- Adjustable wrench or pliers
- Pipe wrench (optional)
Steps:
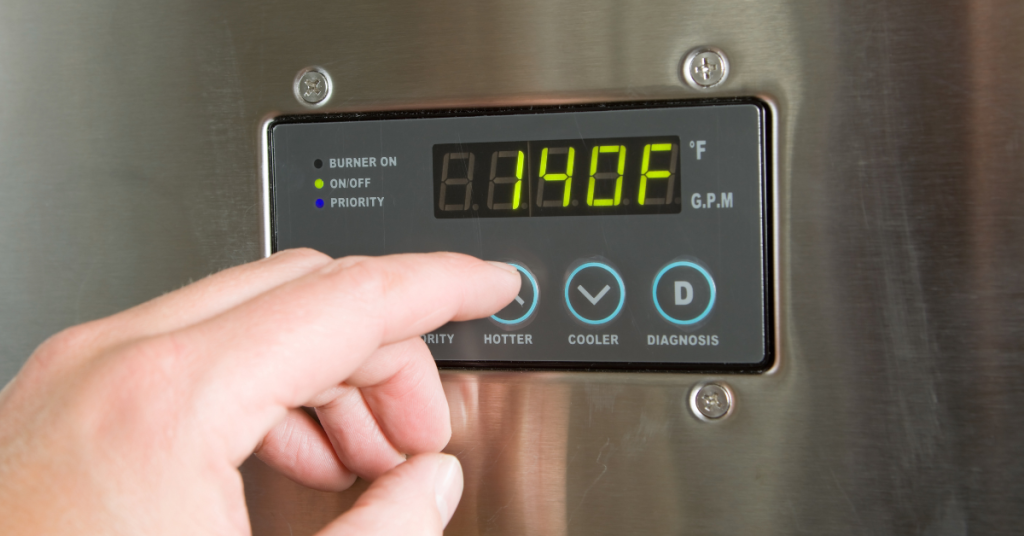
- Turn Off Water Supply: Before starting, turn off the water supply to the shower at the main shutoff valve or at a dedicated shutoff valve for the shower.
- Remove the Old Shower Arm:
- Using an adjustable wrench or pliers, grip the old shower arm where it connects to the shower wall.
- Turn the old shower arm counterclockwise to unscrew it from the wall. If it’s stuck, you may need a pipe wrench for added leverage.
- Clean Threads: Once the old shower arm is removed, clean any residue or debris from the threads inside the shower wall fitting.
- Wrap Threads with Teflon Tape:
- Wrap several layers of pipe thread seal tape (Teflon tape) clockwise around the threads of the new shower arm. This helps create a watertight seal.
- Install the New Shower Arm:
- Screw the new shower arm into the shower wall fitting by turning it clockwise.
- Hand-tighten the shower arm as much as possible while ensuring it points downward and aligns with your shower head’s location.
- Tighten with Tools (Optional):
- Using an adjustable wrench or pliers, give the shower arm a final snug turn to ensure a secure fit. Be careful not to overtighten, which can damage the threads or the shower arm.
- Turn On Water Supply: Turn the water supply back on at the main shutoff valve or the dedicated shower valve.
- Check for Leaks: Turn on the shower and check for any leaks around the connection point. If you notice any leaks, tighten the shower arm slightly until the leaks stop.
Types of Shower Arms
Before replacing your old shower arm with a new one, you should first buy a good replacement. As I have already mentioned, shower arms are universal but you will need to decide on the style and length.
There are 3 types of shower arms to choose from. These are:
1. Standard Shower Arms

These are the most common types of shower arms, especially for people with a bathtub-shower combination. They are usually between 6 and 12 inches in length with a 45 degrees angle around the middle.
Standard shower arm are best for people with small bathrooms. If you have a big shower cubicle and would like to extend the length of your shower arm, you should replace this type of shower arm with a longer one.
2. Straight Shower Arms

Straight shower arms as their name implies are straight (and usually longer than standard shower arms), only bending at the very tip where the shower head is mounted at a 90 degrees angle.
These types of shower arms are ideal for people with big bathrooms and are especially used to mount rainfall shower heads.
3. Gooseneck Shower Arms
Gooseneck or S-shaped shower arms as their name suggests are shaped like the neck of a goose which resembles and S. They are ideal for tall people who want their shower heads a little higher.
A gooseneck shower arm will increase your shower head height with about 10 inches. If such would be interest in such, check out this one here on Amazon.
How to Replace a Shower Arm
After buying your preferred shower arm, it is time to get down to business. These are the steps to follow when replacing your shower arm.
1. Gather your Materials
In order to successfully replace a shower arm, you will need the following tools and materials:
- New shower arm
- Pipe wrench
- Teflon tape
- Screwdriver
- Putty knife
- Silicone caulk
- Vinegar (optional)
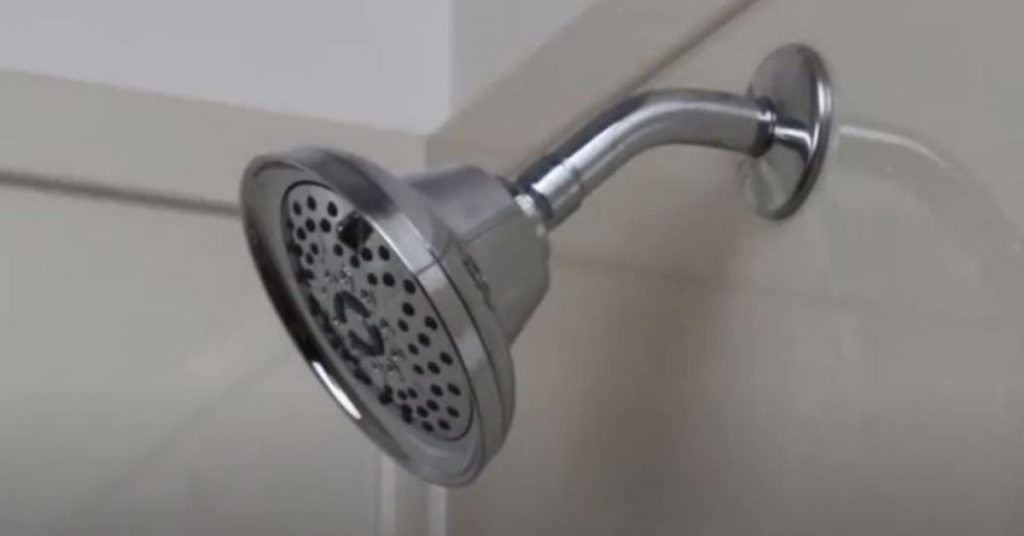
2. Remove the Shower Head
The first thing you need to do is determine the height of the shower head (and shower arm) relative to the floor and also your own height. Can you comfortably work with your feet firmly on the ground or you will need elevation.
If you need to boost your height, grab a sturdy stand and place it directly under the shower head. Make sure the floor is not wet or slippery to avoid falling off.
The shower head is threaded to the shower arm. It can be very tight or just hand tight especially if it is plastic.
- Grab the shower head and attempt to turn it counterclockwise with your bare hands. If it turns, proceed to unscrew it completely and remove it.
- When the shower head won’t turn, grab its connection nut with a wrench and turn it. Unscrew it with your hand when it’s loose.
- Drop and submerge the shower head in bowl full of equal parts water and vinegar. This will help dissolve and remove the calcium deposits blocking its nozzles for improved shower water pressure.
If you do not intend to reinstall the old shower head ignore the last step.
3. Remove the Shower Arm

- Check if the shower arm flange is caulked to the bathroom wall, or if it is held on the arm using a screw.
- If it secured using a screw, loosen it until the flange is rotating freely. Note that the screw could be at the top of the flange.
- For a flange that is caulked to the wall, cut through the caulk with a putty knife.
- To loosen the shower, you would usually use a pipe wrench but I know a cool and easy trick to use. Stick a screwdriver inside the shower arm and use it as leverage to loosen it. This will only work with standard shower arms.
- If the shower arm is just so corroded and stuck such that it will not come off, spray the connection with a penetrating oil and wait for about 15 minutes. Try to loosen the arm again.
- Once the shower arm is out, use an old toothbrush to clean the water supply line’s thread, especially if there us a lot of old Teflon left in there.
- Scrape off old caulk from the wall as well.
4. Install the New Shower Arm

- Apply about 6 wraps of Teflon tape on both threads on the new shower arm. This is very important to avoid leaks. The correct way to apply Teflon tape is clockwise, the same direction you will use to thread the shower arm into the pipe.
- Carefully thread in the new shower arm, starting off slowly to avoid cross threading. Again use the screwdriver to tighten the shower arm. Avoid using the wrench to so as not to scratch the finish off the new shower arm.
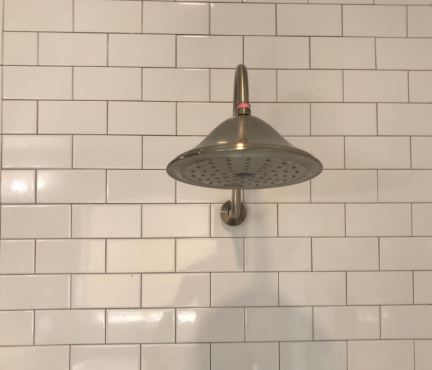
- Make sure that the shower arm is tight, and most importantly, the curved portion is pointing straight down. You do not want your shower head to point sideways.
- Slide in the shower arm flange but do not secure it yet.
5. Connect the Shower Head
- Before connecting the shower head back, take some time to clean it. Grab an old toothbrush and scrub through the nozzles to remove as much mineral deposits as possible. Poke through each hole with a toothpick as well to make sure they are all open.
- Thread the shower head on the shower arm, again being careful to avoid cross threading.
- When the shower arm is hand tight, use the wrench and turn its nut clockwise to tighten it. Do not however over tighten it such that you change the orientation of the shower arm.
6. Test the Shower Arm
- Draw the shower arm flange as further away back as possible from the wall. You want to have a clear view of the shower arm connection to the water supply pipe.
- Turn on water supply to the shower head. Carefully inspect the connection and check if there is a leak. This is very important to make sure there is no water leaking into the wall.
- Check for leaks as well at the connection between the shower head and the shower arm.
- If there is a leak, tighten the connection some more. You may even need to remove the shower arm and check if the threads are damaged or double down on the Teflon.
7. Secure the Shower Arm Flange

The shower arm flange will either be secured using a screw or silicone caulk. A screw is usually easy to put in than caulking.
The screw will bite on the shower arm and therefore prevent the flange from moving about. Just make sure that you push the flange as back as possible prior to tightening it.
With silicone caulk, apply a thin bead of the caulk around the flange. Run you finger around the edge of the flange so that you have a uniform bead. Wipe off excess caulk with a piece of rag.
And basically, that is how to replace a shower arm. I hope you enjoyed this post.