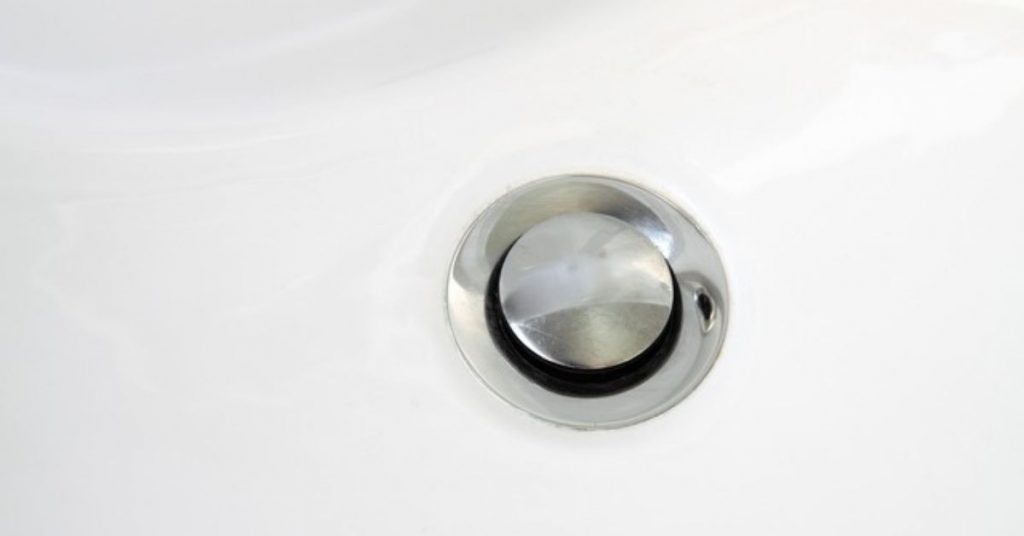
Most bathroom sinks in the United States use a pop-up drain stoppers. This design of stoppers allows you to hold water in the sink instead of continuously running the faucet. The design also allows you to drain the sink without touching the dirty water with your hand.
If you notice that your bathroom sink is clogged or draining slowly, you most certainly have debris, soap scum and hair trapped below the stopper forming a sticky gunk that restricts the flow of water.
Here is a simple guide of how to remove a sink pop-up stopper:
- Access the Stopper Rod: Look under the sink for the horizontal rod that connects to the pop-up stopper. It’s usually connected to a clevis strap or a pivot rod.
- Disconnect the Rod: Depending on the type of stopper assembly, you may need to: For a clevis strap: Loosen the nut or screw that secures the rod to the clevis strap. For a pivot rod, unscrew the pivot nut that connects the rod to the drainpipe.
- Remove the Stopper: With the rod disconnected, lift the pop-up stopper out of the sink drain.
- Clean and Inspect: Take the opportunity to clean the stopper and the drain area. Check for any blockages or debris that may have been causing slow drainage.
- Reassemble (if needed): If you were only removing the stopper for cleaning or inspection, reattach it to the rod and secure it as it was before.
Before removing the pop-up sink stopper, I believe it is important to first understand how it works. Let us then briefly look at how a pop-up sink drain stopper works.
How a Pop-Up Sink Drain Stopper Works
The design of a pop-up sink stopper is so easy to understand and therefore fix. I have attached the entire pop-pup stopper assembly below since most of us really don’t care to look under the sink.

From the top of the sink, the only thing you can see is the sink drain stopper’s cap (usually stainless steel) and the lift rod. What you might not know is the lift rod and the stopper are connected from underneath the sink.
An important component of the assembly called a pivot rod is used to connect the stopper and the lift rod. How this happens is that inside the sink drain there is a plug called which is threaded to the stopper cap and that is also hooked (some have a hole) at the bottom.
That hook is where the pivot rod connects to the stopper. To connect the pivot rod to the lift rod, we use an extension bar, also known as the clevis rod using a spring clip. The clevis rod is used to adjust the distance (up and down) travelled by the whole assembly.
When you pull the lift rod up, the pivot rod pulls the pop-up stopper down closing the sink drain. A gasket fitted under the stopper cap helps to create a watertight seal. When you push the lift rod down, the pivot rod pushes the stopper up, therefore opening the sink drain opening and it immediately starts to drain.
If you notice that the sink is draining slowly or not draining at all, there is a lot of gunk trapped under the stopper. Removing and cleaning the it is a sure way to fix the problem.
How to Remove the Stopper
Before you get down to business you will need to first gather some supplies. Here is a list of the things you will need to remove a pop-up sink stopper:
- Old toothbrush
- Empty bucket
- Adjustable wrench
- Marker pen
- Baking soda
- Vinegar
1. Clear the space under the sink
Most of us use the space under the bathroom sink to store detergents, brushes, plungers among other items. You will be working from this space and you therefore need to remove all of these items.
Another thing you can do is to ensure that there is good lighting to help you see everything you will be doing. If the natural bathroom light can’t reach there, grab a flashlight or better still have someone hold it for you.
2. Disconnect the pivot rod from the clevis rod
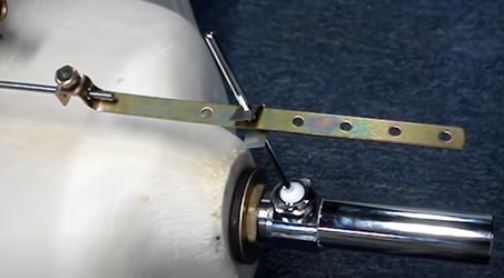
The clevis rod is attached to the pivot rod using a spring clip. Remove the clip from the clevis rod to detach it from pivot rod. Place the clip in safe place where you cannot lose it.
Another important thing to do is to mark the position on the clevis rod where the pivot rod was connected. As you can see from the clevis rod, there are different holes and if you don’t mark the specific hole your pivot rod was attached to you will spend a lot of time later trying to adjust it.
Before moving on to the next step, place the empty bucket below the drainpipe. There is always some water trapped in the drain and you don’t want to spill it on the floor.
3. Disconnect pivot rod from the drainpipe
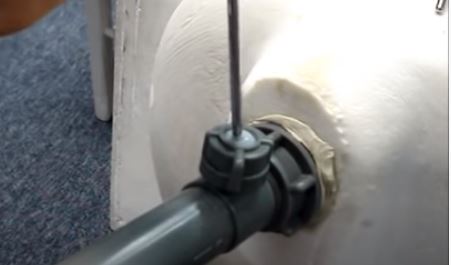
The pivot rod is usually connected to the sink drainpipe using a nut which in most cases is plastic. To loosen the nut turn it counterclockwise.
This nut is usually hand tight and you should therefore loosen it using your bare hand and not a wrench. Only result to a wrench if the nut it is too tight but you will also need to be very gentle on it. Applying too much force can deform it. A deformed nut will leak.
Once the nut is out simply pull out the pivot rod. As you do this, have one of your hand below the drainpipe to grab any O-rings/gaskets that might fall as the rod comes out.
4. Lift off the stopper
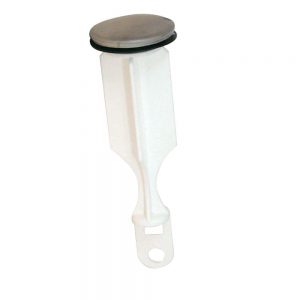
Your work under the sink is done. Get up on your fit and just lift the stopper from the drain opening. As you will notice, the stopper will be very dirty and at times even gross. Don’t be tempted to clean it in the sink since the drainpipe is open at the bottom, unless you want to fill the bucket with water.
Depending on the situation of your bathroom, you might want to remove the P-trap and clean it as well. The P-trap is the U-shaped part of the drainpipe. It serves 2 purposes.
The first one is to hold potential drain clogs and hence preventing them from clogging the drainpipe further down and second is to hold a little amount of water that acts as seal, preventing sewer gases from coming up through the sink drain.
If your sink was badly clogged, there is also a chance that the trap is also full of gunk and just cleaning the stopper will not fix the problem.
5. Clean the sink stopper and drainpipe
If you have another sink, use it to clean the stopper, being careful not to forget to clean the gasket underneath the cap. You can even remove the gasket, clean it separately and put it back but this time the other way especially if it looks warped.
If you only have one sink then add water in the bucket and clean the stopper from there. Add a gentle dish soap in the water. Avoid using bleach or other acidic cleaners as they can weaken the gasket causing it to start leaking.
Apart from the stopper, you also need to clean the drainpipe. A toothbrush is a fantastic tool for this job. Simply put the tooth brush in a cleaning solution and insert it in the sink drain opening. Scrub all around the drainpipe pulling out as much of the gunk as possible.
6. Install the stopper back
- Slide the stopper back inside the sink drain opening. It is very important to make sure that it is properly aligned so that the hole on the stopper plug faces the direction the pivot rod will come in through.
- Connect the pivot rod to the stopper. Push the pivot rod through the drain opening to connect it with the stopper plug. To be sure that the pivot rod is engaged to the stopper, move it up and down and check if the stopper is pop up and down as well.
- Connect and tighten the lock nut. Again only use your hand to tighten it. A wrench might strip the threads
- Attach the pivot rod to the clevis rod. Check the mark you made on the pivot rod and push the pivot rod through it. Use the spring clip to hold it in position.
7. Flush the drainpipe
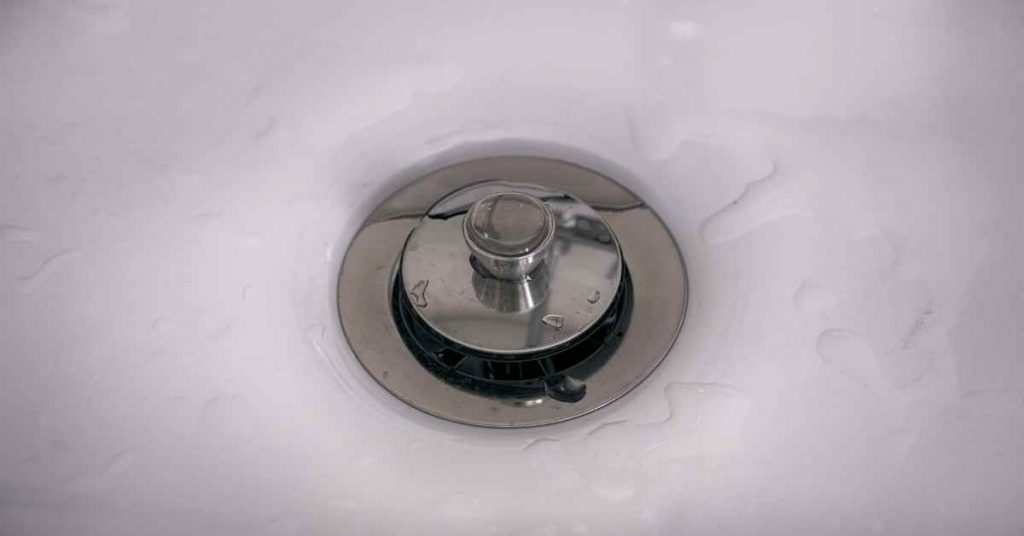
This process is optional and will remove any lingering debris in the drainpipe as well as drain trap. It is also a great way to unclog slow draining sinks.
- Pour about 1 cup of baking soda down the sink drain.
- Slowly add 1 cup of vinegar. You add the vinegar slowly to avoid an explosive reaction.
- Wait for above 30 minutes for the solution to work out its magic.
- Blast hot water down the sink drain. This water will wash down all the debris from the drainpipe leaving your drainpipe fully opened.
What About a Stuck Stopper?
Sometimes you find that the sink drain stopper is flat on the sink and will not just pop up. Removing it in such a situation becomes very tricky. So what do you do?
Grab a suction cup and place it on top of the stuck stopper. Push it (suction cup) down to create a tight seal around the stopper cap and then lift it straight up. Alternatively, put a drop of glue on a plastic strap, glue it to the stopper and after a few seconds pull it out.
Often when the pivot rod disconnects from the stopper plug or the plug is broken, you might have this problem. Fixing it is easy though. Just follow the steps above and hook it back or replace it if broken.


