Finding hidden water leaks early can mean the difference between a minor repair and a major home disaster. In this article, I’ll walk you through seven reliable, hands‑on techniques you can perform yourself, no specialized equipment required, to uncover hidden water leaks anywhere in your plumbing. You’ll learn how to confirm a leak with your water meter, pinpoint drips behind walls, test fixtures with simple tools, and distinguish between indoor and outdoor issues. By the end, you’ll have a clear action plan and know exactly when to call in a professional.
1. Verify Leaks with Your Water Meter
First, make sure you’re dealing with a leak, and not an appliance or faucet left on. Turn off every water source: faucets, dishwasher, washing machine, ice maker, sprinkler systems, everything. The location of your main water shut-off valve will be in the basement or garage. Wipe the glass clean, and note the reading or position of the little triangular leak indicator. Wait 30–60 minutes without using any water.
If the triangle spins or the numbers tick up, congratulations: you’ve confirmed a leak somewhere between the meter and your fixtures.
2. Acoustic Detection: Listening for Hidden Drips
Sometimes leaks announce themselves before you ever see water damage, if you just stop and listen. Power down televisions, radios, and stash your phone; silence is your friend. Walk slowly along walls, floor joists, and ceilings near exposed pipes, the water heater, and toilets. Press your ear gently against drywall or wooden beams and tune in for hissing or dripping.
If the sound is too faint, shut off your main valve, leave the house for 20 minutes, then return and listen by the meter: any flow noise means the leak lies between the meter and valve.
3. Inspect Common Leak Sites
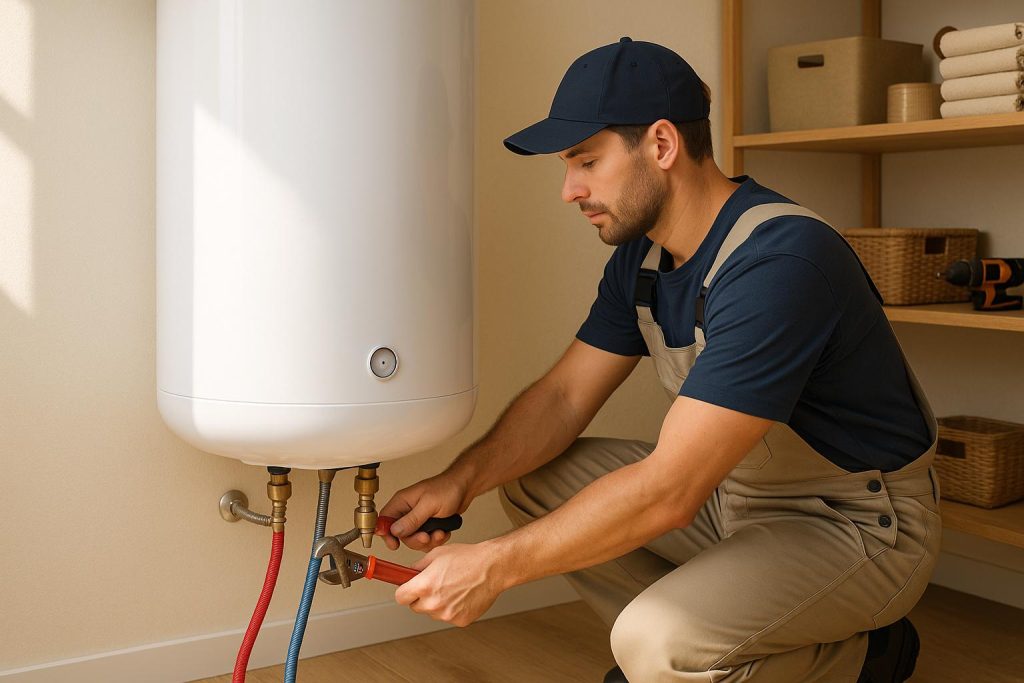
Certain spots in your home are prime real estate for hidden water leaks, so give these areas extra scrutiny. Under sinks, remove clutter and shine a flashlight on the P‑trap and supply lines to check for moisture or corrosion—common telltales of hidden water leaks in tight spaces. Under sinks, remove clutter and shine a flashlight on the P‑trap and supply lines to check for moisture or corrosion. Behind toilets, look for warped flooring or damp drywall. Around the water heater, scan the base and fittings. Don’t overlook exterior walls: water stains, peeling paint, or green algae on siding are sure clues.
- Check P‑traps, compression nuts, and flexible hoses
- Look for puddles or warped wood behind toilets
- Scan the water heater’s base and inlet/outlet connections
- Inspect siding and foundation for discoloration or algae

4. Test Toilets with Food Coloring
Toilet tank leaks often go unnoticed, but they can waste hundreds of gallons per month. Here’s a quick way to catch them: drop a few drops of food coloring into the tank and wait 10–15 minutes without flushing. If colored water seeps into the bowl, your flapper, fill valve seal, or flush valve is at fault. Swapping out a basic flapper kit usually fixes this in under 10 minutes.
- Use blue or green food coloring for contrast
- Avoid flushing during the test
- Replace the flapper if dye appears in the toilet bowl
- Inspect the valve seat and chain for damage

5. Try the Dye‑Paper Towel Method
When leaks hide at pipe joints and fittings, you need a low‑tech trick that works every time. Fold a clean, dry paper towel and press it firmly against suspicious fittings under sinks, behind tubs, or at appliance hookups. Let it sit for 20–30 minutes, then inspect for damp rings or colored residue. This method catches micro‑drips you’d never spot by eye or flashlight alone.
- Fold the towel to create a thick pad
- Press against the pipe joint or the fixture base
- Wait at least 20 minutes before checking
- Replace the towel between tests for fresh results

6. Acoustic Leak‑Detection Kit
For pinpoint accuracy—especially on hidden or underground lines—acoustic sensors are your best friend. A typical DIY kit includes a clamp‑on transmitter and a stethoscope‑style receiver. After calibrating per instructions, clamp the transmitter onto a clean section of pipe. Move the receiver slowly along the pipes; the device beeps louder where water is escaping. This approach works behind walls, under floors, and even outdoors beneath concrete slabs.
- Clap the transmitter on the main feed or the suspect branch
- Power on and set the sensitivity per the manual
- Scan pipe runs in steady, overlapping motions
- Mark spots where the signal peaks
7. Pressure‑Test Isolated Sections
When visual and acoustic methods still leave you guessing, pressure‑testing isolates problem zones definitively. Shut off valves to section off the suspected area, then attach a pressure gauge and pump the line to the manufacturer’s recommended PSI. Watch the gauge for 15–30 minutes; any drop means there’s a leak in that isolated segment. This is the gold standard for detecting slab leaks or breaks in underground lines without invasive digging.
8. Outdoor & Underground Checks
Leaks outside your home can be just as sneaky. After watering or rain, scan your yard for abnormally lush grass patches, sudden soggy spots, or bubbling soil. Hose bibs and irrigation joints often drip at night, walk your sprinkler zones and check for drips at each valve. For true underground mystery leaks, moisture meters can confirm wet soil; beyond that, it’s time to call a specialist with electronic locators before you start digging.
- Inspect hose bibs after dusk
- Walk irrigation lines for wet spots
- Use soil‑moisture meter probes if available
- Call pros for buried line locators
Tools You’ll Need
Gather these essentials before you begin; having everything at hand keeps your inspection smooth and stress‑free. You may already own most of these items; if not, they’re inexpensive and handy for future household projects:
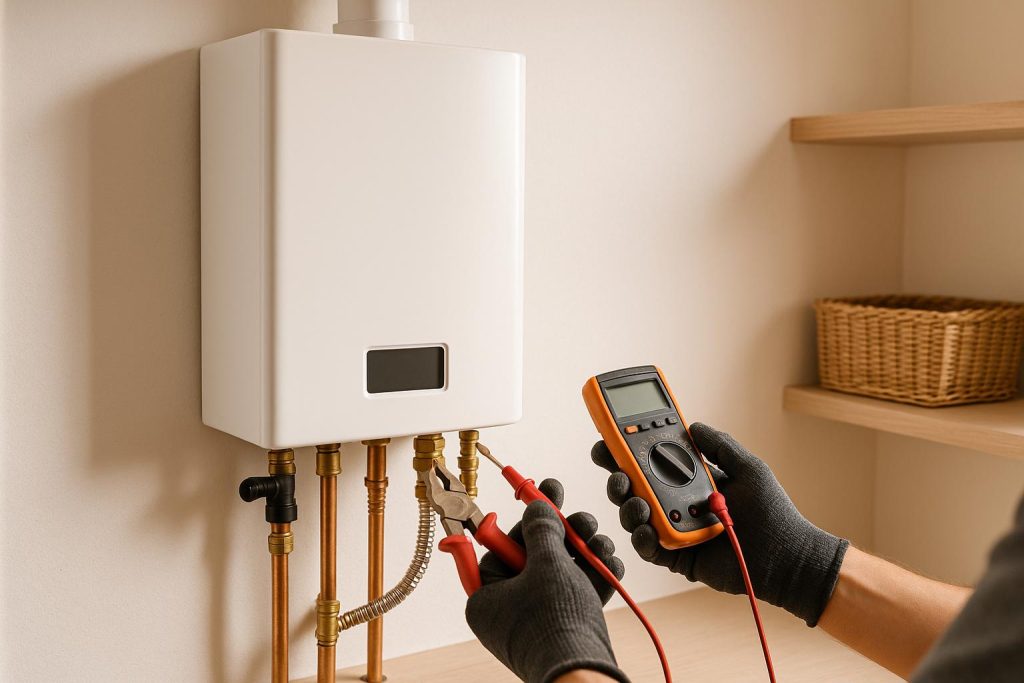
- Adjustable wrench and slip‑joint pliers
- Bright flashlight or headlamp
- Food coloring or dye tablets
- Leak‑detection kit (acoustic)
- Pressure gauge with adapter fittings
- Paper towels and a cleaning rag
When to Call a Professional
DIY methods resolve 80–90% of basic leaks, but some situations demand an expert’s gear and know‑how:
- Slab leaks under concrete foundations
- Leaks inside walls are causing mold or structural weakening
- High‑pressure line failures in main feeds
- Gas line or sprinkler system breaks
- Persistent leaks that defy all DIY tests
A licensed plumber uses infrared cameras, video‐pipe inspections, and ground microphones to locate leaks non‑invasively, saving you time, money, and yawning trenches in your yard.
FAQ
Q: How much water do hidden water leaks waste?
A single drip per second adds up to over 3,000 gallons per year from hidden water leaks, enough to fill a small backyard pool!
Q: Can I fix slab leaks myself?
Slab leaks almost always require professional tools and concrete cutting. DIY attempts often worsen damage.
Q: What does a pressure test involve?
It isolates a pipe section, pumps it to the specified PSI with a gauge, then watches for pressure drops over 15–30 minutes.
Q: How often should I check for hidden water leaks?
Do a quick meter test and visual walk‑through quarterly, and always before vacation or long absences.
Q: Will my home insurance cover leak damage?
Sudden, accidental leaks are usually covered. Gradual damage from long‑term neglect may be excluded. Review your policy details.
Conclusion
By combining these seven DIY methods, each with paragraphs that explain the how and why, plus bullet lists for exact steps, you’ll find most hidden water leaks before they inflate bills or wreck your home. Document your results with photos and notes (handy if you need to call a plumber), schedule quarterly inspections, and tackle repairs promptly. Armed with this guide, you’ll keep your home dry, safe, and leak‑free all year long.


