Imagine stepping into your bathroom, expecting a refreshing start to your day, only to be greeted by unsightly white spots, crusty build-ups, and dull surfaces caused by hard water deposits. If you’ve experienced this frustration, you’re not alone.

Hard water, which contains high levels of minerals like calcium and magnesium, can wreak havoc on your bathroom fixtures and surfaces, leaving behind stubborn stains that seem impossible to remove. But fear not! With the right knowledge and strategies, you can eliminate hard water deposits and restore your bathroom to its former glory.
In this comprehensive guide, we’ll delve into the world of hard water deposits, exploring their causes, identifying visual signs, and most importantly, providing you with practical tips and techniques to banish them for good. From understanding the science behind hard water to discovering effective cleaning solutions and preventative measures, you’ll learn everything you need to know to maintain a pristine and hygienic bathroom environment. So roll up your sleeves and let’s get started on the journey to a spotless bathroom!
Understanding Hard Water Deposits

Hard water, a common issue in many households, occurs when water contains high concentrations of dissolved minerals, primarily calcium and magnesium. These minerals are naturally present in the earth’s crust and are picked up as water travels through soil and rocks. When hard water evaporates or comes into contact with surfaces in your bathroom, it leaves behind mineral deposits that accumulate over time, forming unsightly stains and build-ups.
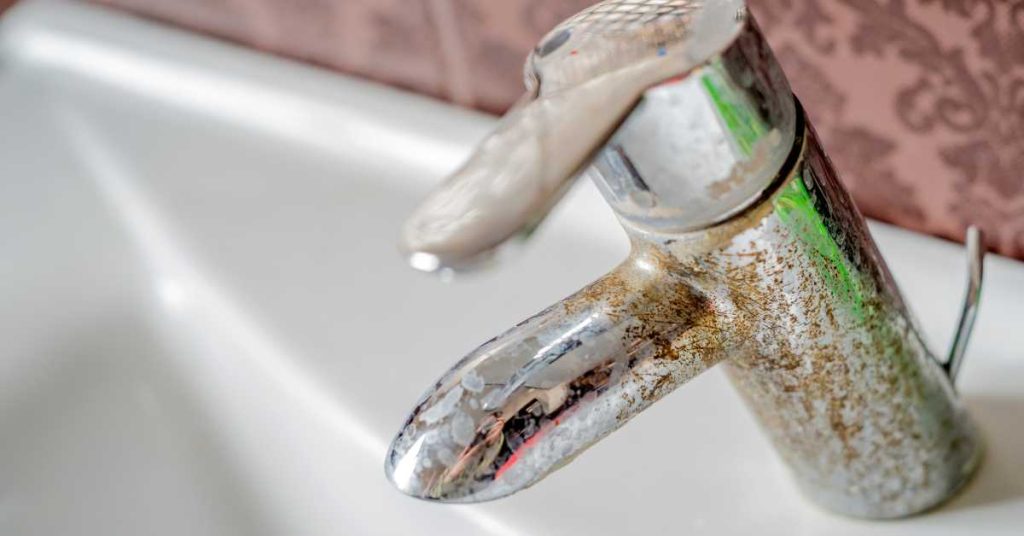
Identifying hard water deposits in your bathroom is crucial for effective removal and prevention. Visual signs of hard water deposits include white or cloudy spots on surfaces such as shower doors, faucets, and tiles. These spots are often accompanied by a rough or gritty texture, indicating the presence of mineral build-ups. Additionally, hard water can cause scaling or mineral accumulation in plumbing fixtures, leading to reduced water flow and efficiency.
To determine if you have hard water in your home, you can conduct a simple test using a water hardness testing kit or consult with a professional water testing service. By understanding the causes and visual indicators of hard water deposits, you can take proactive steps to address the issue and protect your bathroom from further damage.
Tips for Eliminating Hard Water Deposits

Regular Cleaning Routines
- Choose cleaning products specifically formulated to combat hard water deposits, such as acidic cleaners or vinegar-based solutions.
- Create DIY cleaning solutions using household ingredients like baking soda, lemon juice, and white vinegar. These natural cleaners can effectively dissolve mineral deposits without harsh chemicals.
- Establish a consistent cleaning schedule to prevent the buildup of hard water deposits. Focus on high-traffic areas like showers, sinks, and toilets, paying special attention to surfaces prone to staining.
Preventative Measures
- Install a water softener or filtration system to treat hard water at the source. These devices work by removing minerals from the water supply, preventing the formation of deposits in your bathroom.
- Apply protective coatings or sealants to surfaces to create a barrier against hard water deposits. Products like ceramic tile sealers or glass coatings can repel minerals and make cleaning easier.
Targeted Cleaning Techniques

1. Toilets: Best Method: Using a Pumice Stone
- Pumice stones are effective for removing mineral deposits from toilet bowls without scratching the porcelain surface.
- Wet the pumice stone and gently rub it over the stained areas.
- Rinse the toilet bowl thoroughly after use.
Note: Avoid using a pumice stone on colored or painted toilet bowls, as it may cause damage.
2. Bathtubs and Showers: Best Method: Vinegar and Baking Soda Paste
- Create a paste by mixing equal parts vinegar and baking soda.
- Apply the paste to the affected areas of the bathtub or shower.
- Let it sit for 15-20 minutes to allow the mixture to break down the mineral deposits.
- Scrub the surface with a non-abrasive sponge or brush.
- Rinse thoroughly with water and dry with a clean cloth.
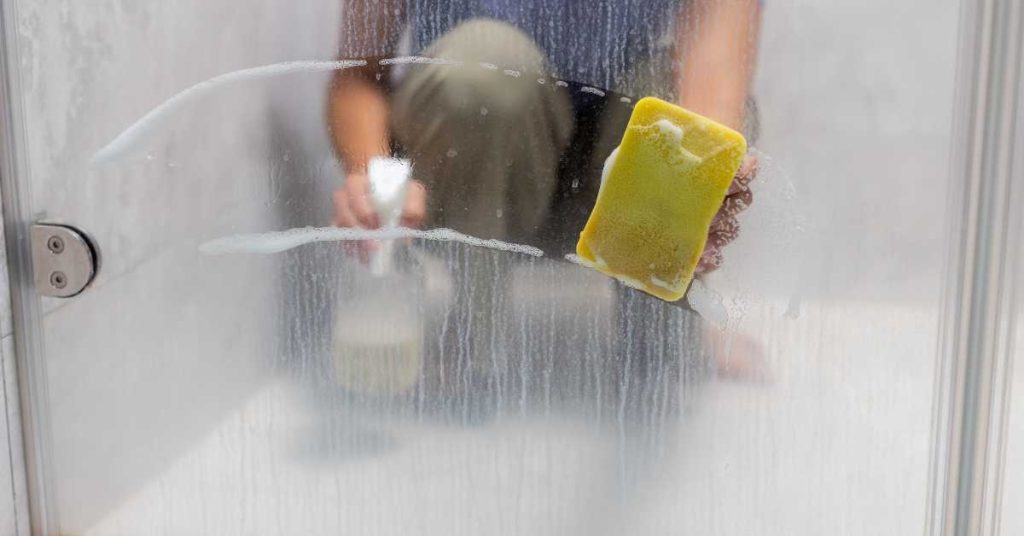
3. Shower Glass: Best Method: Vinegar and Water Solution
- Mix equal parts white vinegar and water in a spray bottle.
- Spray the solution onto the glass and let it sit for a few minutes.
- Scrub the glass with a soft-bristled brush or sponge.
- Rinse thoroughly with water and dry with a clean cloth or squeegee.
4. Sinks: Best Method: Vinegar Soak
- Soak a cloth or paper towel in undiluted white vinegar.
- Wrap it around the faucet or areas with hard water deposits.
- Let it sit for several hours or overnight.
- Use a soft-bristled brush or sponge to scrub the area.
- Rinse thoroughly with water and dry with a clean cloth.
5. Faucets: Best Method: Vinegar Soak and Scrub
- Soak a cloth or paper towel in undiluted white vinegar.
- Wrap it around the faucet and let it sit for several hours or overnight.
- Use a soft-bristled brush or sponge to scrub the faucet.
- Rinse thoroughly with water and dry with a clean cloth.
6. Tiles and Grout: Best Method: Vinegar and Baking Soda Paste
- Create a paste by mixing equal parts vinegar and baking soda.
- Apply the paste to the grout lines and stained tiles.
- Let it sit for 15-20 minutes to allow the mixture to break down the mineral deposits.
- Scrub the grout lines and tiles with a brush.
- Rinse thoroughly with water and dry with a clean cloth.
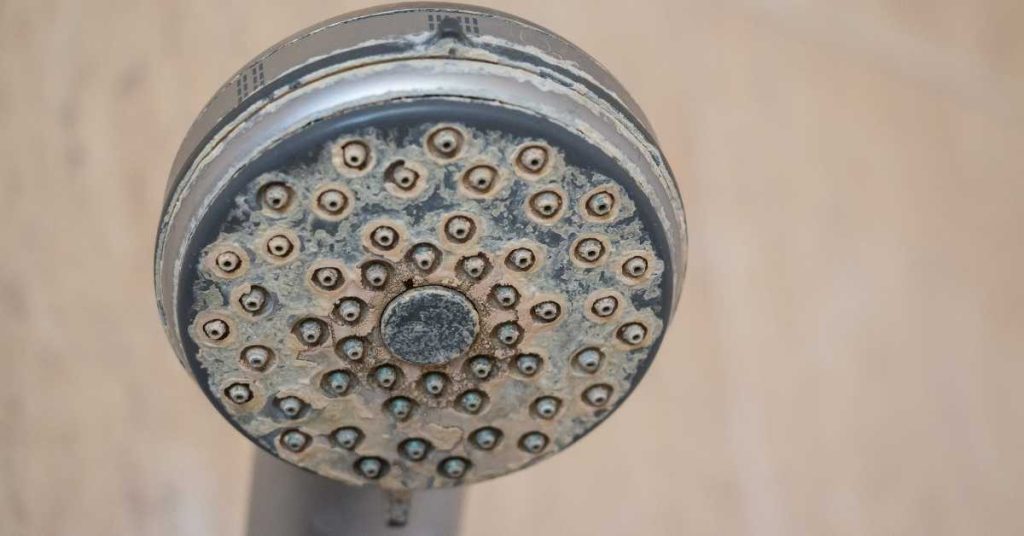
7. Showerheads: Best Method: Vinegar Soak
- Remove the showerhead and place it in a container filled with white vinegar.
- Let it soak for several hours or overnight to dissolve the mineral deposits.
- Use a toothbrush to scrub the showerhead.
- Rinse thoroughly with water before reinstalling.
8. Glass Surfaces: Best Method: Vinegar and Water Solution
- Mix equal parts white vinegar and water in a spray bottle.
- Spray the solution onto the glass and let it sit for a few minutes.
- Wipe the glass with a soft cloth or sponge.
- Rinse thoroughly with water and dry with a clean cloth or squeegee.
Maintenance Tips for Long-Term Prevention

In addition to regular cleaning and preventative measures, there are several maintenance tips you can follow to prolong the effects of hard water deposit removal:
- Wipe down surfaces after each use to prevent water from sitting and evaporating, leaving behind mineral residues.
- Invest in a squeegee or microfiber cloth to quickly dry shower doors and glass surfaces after showering, minimizing the opportunity for hard water spots to form.
- Periodically inspect plumbing fixtures for signs of scaling or mineral buildup, and address any issues promptly to prevent further damage.
- Consider replacing old or worn-out fixtures with newer models designed to resist hard water stains and corrosion.
Additional Considerations
While eliminating hard water deposits is essential for maintaining a clean and hygienic bathroom, it’s also important to consider the environmental and health implications of your chosen removal methods. Some commercial cleaning products contain harsh chemicals that can be harmful to the environment and may exacerbate respiratory issues or skin sensitivities. Whenever possible, opt for natural or eco-friendly cleaning solutions that are safe for you, your family, and the planet.
Furthermore, cost-effective solutions such as DIY cleaners or preventative maintenance measures can help you save money in the long run while still achieving excellent results. By taking a holistic approach to managing hard water deposits in your bathroom, you can enjoy a sparkling clean environment without compromising on sustainability or budget.
Conclusion
In conclusion, tackling hard water deposits in your bathroom may seem like a daunting task, but armed with the right knowledge and strategies, it’s entirely achievable. By understanding the causes of hard water, identifying visual signs, and implementing targeted cleaning techniques and preventative measures, you can effectively eliminate mineral deposits and restore your bathroom to its pristine condition. Remember to prioritize environmental sustainability and personal health when choosing cleaning products and methods, and don’t hesitate to seek professional assistance if needed. With diligence and consistency, you can say goodbye to hard water deposits and hello to a spotless, inviting bathroom for years to come.
