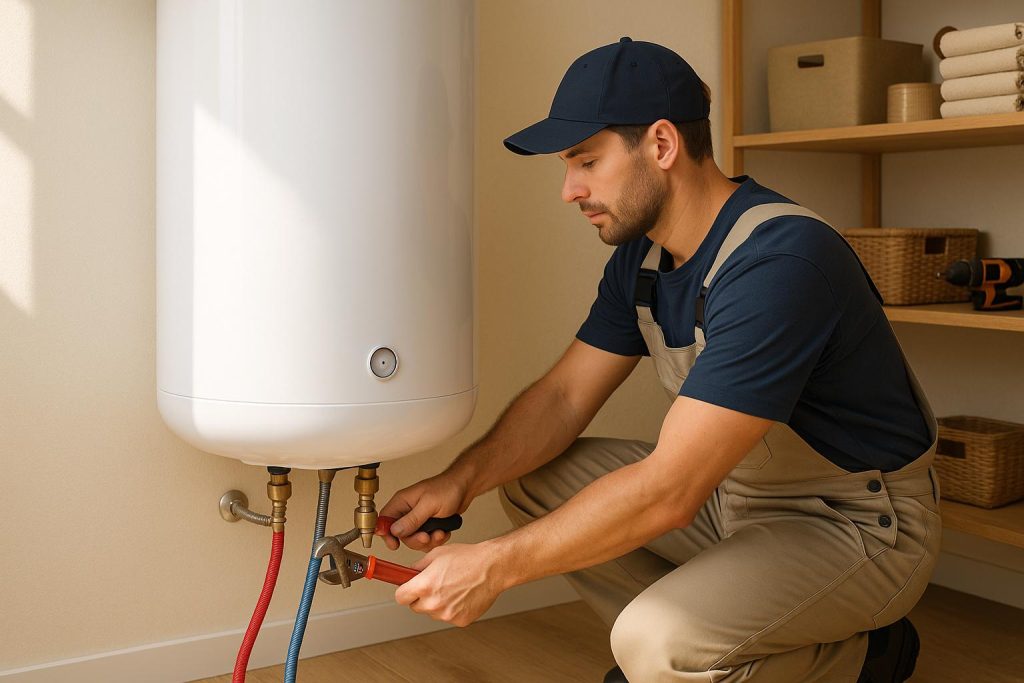
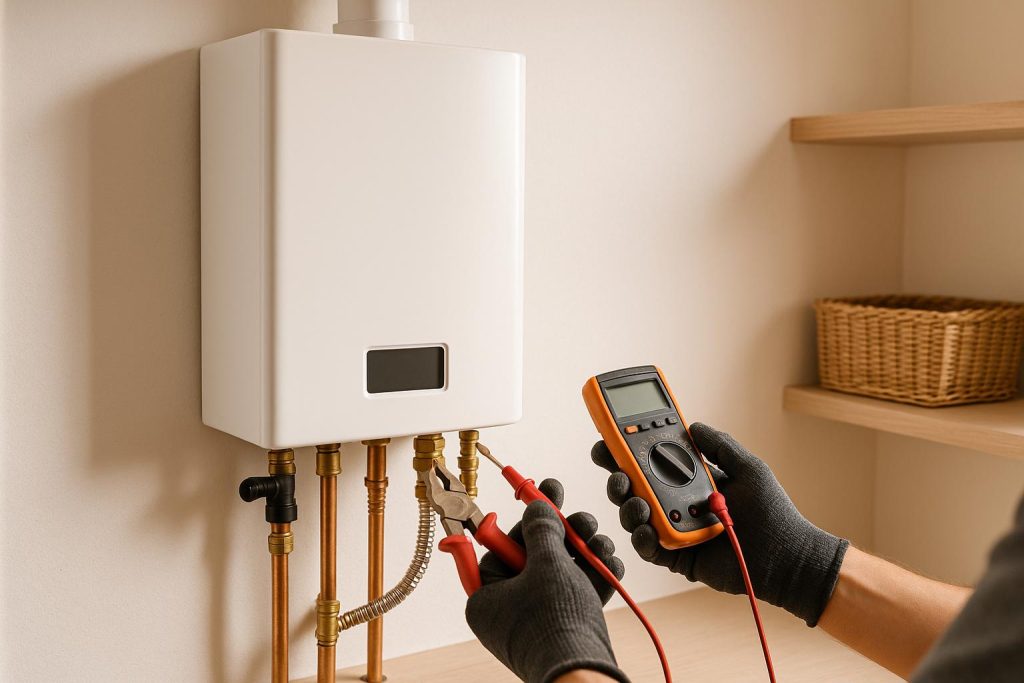
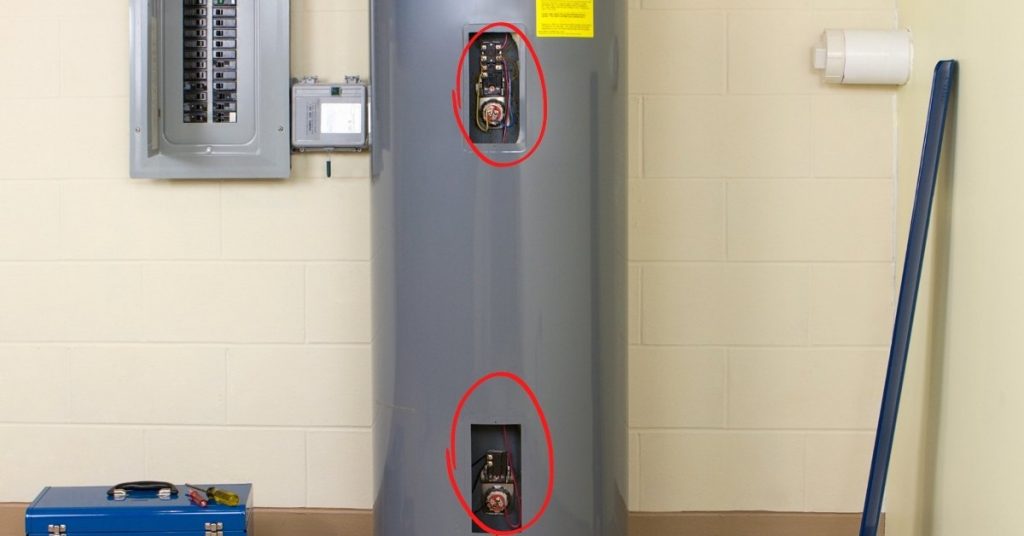
An electric water has 2 heating elements, an upper heating element and a lower heating element. Both elements are always in communication and if there is a problem with one element it will affect how your water heater works.
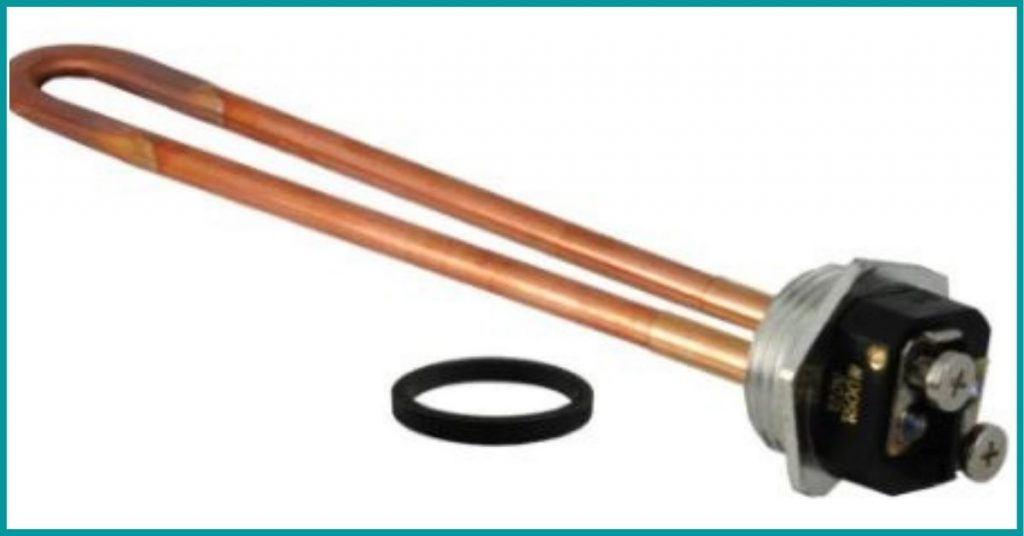
To test a water heater element, turn off the power to the unit and remove the element cover plate. Set your multimeter to the lowest setting and put its probes on each of the element’s 2 terminals. A good element should have a resistance of between 10 and 16 ohms.
Here is a quick guide on how to test a water heater element for continuity:
- Safety Precautions:
- Turn off the power supply to the water heater at the circuit breaker or disconnect the gas supply for safety.
- Allow the water heater to cool down if it has been recently in use.
- Tools and Materials:
- Gather the necessary tools and materials, including a multimeter (set to measure resistance), a screwdriver, and safety gear like gloves and safety glasses.
- Access the Elements:
- Remove access panels or covers on the water heater that provide access to the heating elements. These panels are usually located on the side of the tank.
- Disconnect Power:
- Confirm there is no electrical power or gas supply to the water heater by using a non-contact voltage tester or voltage detector.
- Set the Multimeter:
- Turn on the multimeter and set it to measure resistance or ohms (Ω). Check the manufacturer’s specifications for the expected resistance range.
- Test the Upper Element:
- Disconnect the wires from the upper heating element (typically two wires connected to two terminals).
- Place one multimeter probe on one terminal and the other probe on the other terminal of the upper heating element. Check the multimeter for a resistance reading within the specified range.
- If the reading shows “OL” (overload) or is significantly outside the specified range, the upper element is likely faulty and needs replacement.
- Test the Lower Element:
- Repeat the same testing process for the lower heating element by disconnecting its wires and using the multimeter probes on its terminals.
- Look for a resistance reading within the specified range.
- If the reading shows “OL” or is significantly outside the specified range, the lower element is likely faulty and needs replacement.
- Reconnect Wires:
- If the elements are functioning correctly, securely reconnect the wires to their respective terminals on both the upper and lower elements.
- Replace Access Panels:
- Reattach the access panels or covers that were removed earlier to access the heating elements.
- Restore Power:
- Turn the power supply back on at the circuit breaker or reconnect the gas supply for a gas water heater.
Note: If your water heater reset button or breaker keeps tripping check out this post on how to fix it.
How to Test a Water Heater Element with a Multimeter
Let us now look at how you test if a water heater heating element is good or bad using a multimeter. In this test, we will use the continuity test.
In a simple language, a continuity test is test done to check if a circuit is closed or open. When a circuit is closed it means current is flowing flawlessly through it in a loop but an open circuit is one which as its name suggests is non-continuous.
What usually happens with water heater elements is that they can crack and short, in which case you will no longer be receiving hot water. Sometimes a power surge or trapped air pockets can cause the element to burn and also cease to heat the water.
Minerals deposits (especially in areas with hard water) can also cause a heating element to fail. This is why it is important to drain and flush out sediments from your water heater at least once a year.
While testing your water heater element, you need to do it right and safely. This is how you do it:
1. Turn off Power to the Water Heater
To eliminate the risk of electrical shock, you need to carry out this test with power to your water heater turned off. You can either plug off the power at the electrical outlet or turn if off at the circuit breaker.
Your house’s electrical panel will be located in a garage, storage closet or basement. Look for the breaker labelled “Water Heater” and flip it to the off position.
With the power off, gather your materials together. You will need a multimeter, screwdriver, gloves and sometimes even googles.
2. Access the Heating Element
As I said earlier, an electric water heater has 2 heating elements. The elements connection and thermostat are concealed by cover plates secured to the water heater body using 1 or 2 screws.
- Use a screwdriver to remove the screw(s) securing the cover plate to the water heater. Put the plate and screws away in a safe place where you can’t lose them.
- Remove the insulation. You will see a piece of insulation that covers the thermostat and heating element connection. Remove it as well.
- Pull out the plastic safety cover. This piece of plastic simply snaps on and off the thermostat and heating element.
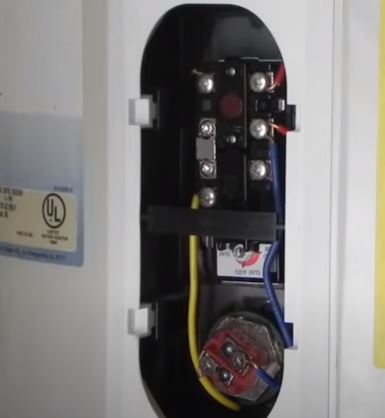
With the cover out, you can now see the thermostat and heating element connection. The heating element is below the thermostat with 2 wires connected to 2 screws.
3. Test Heating Element for Continuity
- Move your multimeter to the least resistance setting. If you are using an analogue multimeter touch the 2 probes together and adjust the needle to zero to properly calibrate it. For a digital multimeter with a tone (indicated by a microphone symbol) move the dial there.
- To make sure a digital multimeter is properly calibrated, you should have a low reading when the 2 probes are touched together.
- Loosen the 2 screws on the heating element connections and pull out the wires from underneath them.
- To test for continuity, place each multimeter probe on the 2 screws connected to the heating element and check for the reading.

If you get a reading of between 10 and 16 ohms, or if the multimeter beeps, your heating element is good. On the other hand if there is a zero (no beep) or a very low reading your heating element is bad and will need to be replaced.
As a confirmatory test, leave one probe on one of the heating element screws, and use the other to touch the metal surface of the water heater. If there is a reading on the multimeter (or if it beeps), the heating element is grounded and will need a replacement.
After testing the upper heating element, move to the lower element and test it as well. Whenever I find that one element is bad, I like to replace them both which gives me piece of mind for the next few years.
How to Replace a Water Heater Element
Replacing a water heater element is quite easy. The challenge might be in buying the right element in the first place. Most water heaters are universal but make sure that you check whether yours is rated as either 240 or120 volts.
Once you have the heating elements ready, this is how you replace the old one with a new one.
- Turn off power to the water heater.
- Remove the cover plate, plastic cover and disconnect the wires connected to the screws.
- Turn off water supply to the water heater. You cannot replace the water heater with water still filling it.
- Drain the water heater. Connect a garden hose to the drain valve at the bottom of the tank. Use a flathead screwdriver to turn on the drain valve. Wait for the water to completely drain out.
- Remove the old heating element. Use a 1 ½ inch socket wrench to loosen the heating element. Once it is loose, unscrew it with your hand and pull it out.
- Clean the water heater-element connection threads with a wire brush or toothbrush.
- Install the new heating element. Before sticking the element inside the water heater, slide in a washer and nicely position it behind the threads to create a watertight seal. Put in the element and screw it in until hand tight. Tighten it further with the wrench.
- Shut off the drain valve and turn on the cold water supply. Never turn on power before the tank is full of water otherwise you will burn the new heating element.
- To prevent air from building up inside the tank and pipes, turn on the nearest hot water faucet. As the tank fills with water, air will be flushed out of the faucet. Leave the faucet open until a smooth stream of water is observed and only then should you turn it off.
- Check around the new water heater element for leaks. If there are no leaks, connect the 2 wires to the screws and tighten them together.
- Put back the plastic cover, insulation and cover plate.
- Turn on the power. Wait for about 20 minutes and check if the water has been sufficiently heated.
And basically that is how to test electrical continuity in a water heater, and replace one if needed.
Other Causes of No Hot Water
Sometimes lack of hot water in the house is caused by a faulty thermostat. Unlike a heating element, a thermostat is really easy to replace since you do not even need to drain the tank.
A water heater thermostat has a series of wires and screws connected to it. To test for continuity, start by disconnecting the wires to the screws.
Use your multimeter probes to make contact with either the upper right or left terminals. If there is no reading on the multimeter you have a defective thermostat which will need to be replaced.
The water heater thermostat is held in place using a metal bracket. To remove the thermostat just pull it out of the bracket. To install a new one push it inside the bracket and connect the wires to the screws.
Please note that the upper thermostats and the lower ones are not similar. The upper thermostat will have a reset button connected to it.
If your hot water in the house is just not hot enough, you may just need to adjust the settings on the thermostat. I have written a guide on how to exactly help you do it. Read it here.


