
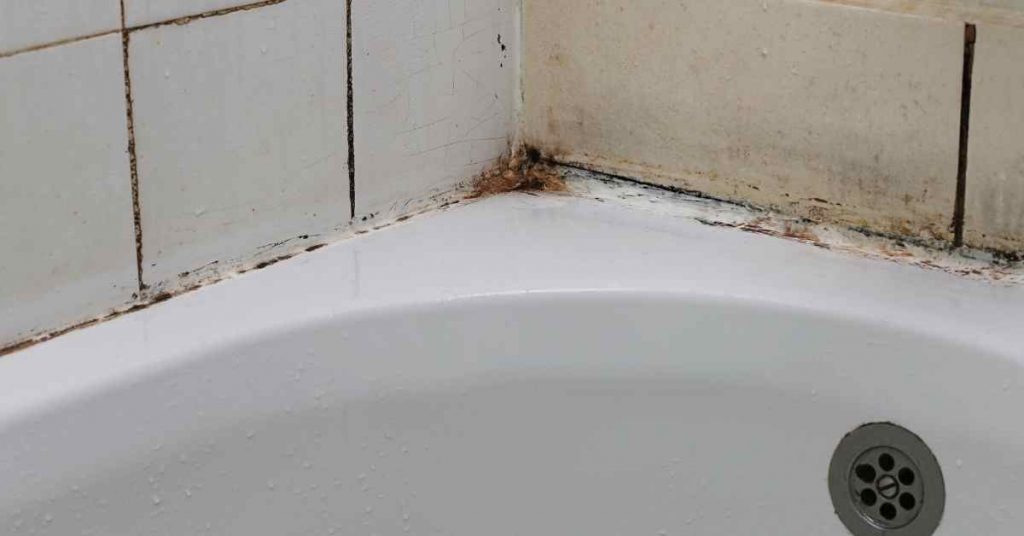
Black mold on shower caulk is a common problem — the combination of moisture, soap scum, and poor ventilation creates the perfect breeding ground. The good news: you can remove it yourself with household supplies in under an hour.
While removing existing mold is the first step, preventing it from coming back is just as important. This guide covers three proven methods — plus tips to keep it gone for good.
Here are the steps to remove mold from shower caulk:
Method 1: Baking Soda and Bleach Paste
Step 1: Gather Your Supplies
To successfully remove mold from your shower caulk, you will need the following materials:
- Bleach
- Baking soda
- Mixing bowl
- Small application brush
- Plastic wrap
- Vinyl gloves
- Respirator
A respirator is strongly recommended due to bleach fumes. Open a window before you start.
Step 2: Prepare a Baking Soda and Bleach Paste
- Put on your respirator and gloves.
- Pour about half a cup of baking soda in the mixing bowl and gradually add bleach until you have a thick consistency.
- Scale the quantities up depending on how much mold you’re dealing with.
Once the paste is ready, bring it into the bathroom.

Step 3: Clean Dust and Grime From the Caulk First
Apply the paste directly on the mold — but first remove any dust, hair, or soap scum that could block it from penetrating. Wipe down the caulk and dry it with a towel before applying the paste.
Step 4: Apply the Paste and Wait
Open the bathroom window and turn on the exhaust fan before you begin.
- Apply the paste generously over all moldy caulk using your brush.
- Cover the paste with plastic wrap to slow bleach evaporation.
- Wait one hour, then check the results.
The black mold will typically fall off on its own. For heavy mold, you may need to repeat the process once more.
Method 2: Bleach-Soaked Cotton Coils
No baking soda? No problem. Bleach-soaked cotton coils work just as well and require fewer supplies.
Start by dusting off the shower to remove loose dirt from the caulk, then:
- Dip cotton coils into a bottle of bleach without squeezing out the liquid.
- Lay the soaked coils directly over the caulk all around the shower.
- Support any loose sections with duct tape.
- Leave overnight for best results.
- Remove the coils and scrub the caulk with a sponge.

No cotton coils? Roll sheets of toilet paper and lay them over the caulk instead. Pour bleach on top until thoroughly soaked, then use a spray bottle to keep them moist periodically.
Method 3: The Natural Method (No Bleach)
Prefer to avoid bleach? Baking soda and vinegar can both remove mold from silicone caulk naturally. Use them separately — not together — for best results.
Baking soda method:
- Mix baking soda and water to form a thick paste.
- Apply generously over the mold and wait one hour.
- Scrub with a sponge and rinse.
Baking soda is safe for pets and septic systems — it won’t harm the good bacteria in your tank.
Vinegar method:
- Fill a spray bottle with white vinegar and spray all over the moldy caulk.
- Wait 30 minutes, then rinse with water and let dry.
Vinegar penetrates deep into the caulk to kill remaining mold at the root — not just on the surface.
How to Prevent Mold From Coming Back
Mold needs four things to grow: food (soap scum, hair, oils), moisture, low light, and humidity. All four are present in most showers. Here’s how to eliminate them:
- Clean with vinegar regularly. Spray white vinegar on the caulk every two weeks when you clean the bathroom. Let it sit for 30 minutes before scrubbing.
- Rinse your shower after every use. A quick rinse with clean water removes the soap and hair that mold feeds on.
- Improve ventilation. Open windows during and after showers, and run the exhaust fan. Lower humidity = less mold.
- Let in more natural light. Mold thrives in dark environments. More daylight in the bathroom reduces the conditions it needs to grow.
Conclusion
You don’t need to replace your shower caulk every time mold appears. Removing it with bleach paste, cotton coils, or baking soda is fast, cheap, and effective. If the caulk itself is cracked, discolored, or peeling, that’s when replacement makes sense — and opt for a mold-resistant silicone caulk when you do.
Related post: How to get rid of pink mold in bathroom fixtures
Quick Reference Summary
To remove mold from shower caulk:
- Safety first: Wear gloves, a respirator, and eye protection.
- Ventilate: Open windows and run the exhaust fan.
- Dry the caulk: Blot excess moisture before applying any cleaning solution.
- Choose your method: Bleach paste, cotton coils, baking soda, or vinegar.
- Apply and wait: Let the solution sit for at least 30–60 minutes.
- Scrub: Use a grout brush or old toothbrush to remove loosened mold.
- Rinse and dry: Rinse with clean water and dry thoroughly.
- Prevent recurrence: Use mold-resistant caulk, ventilate well, and clean regularly.