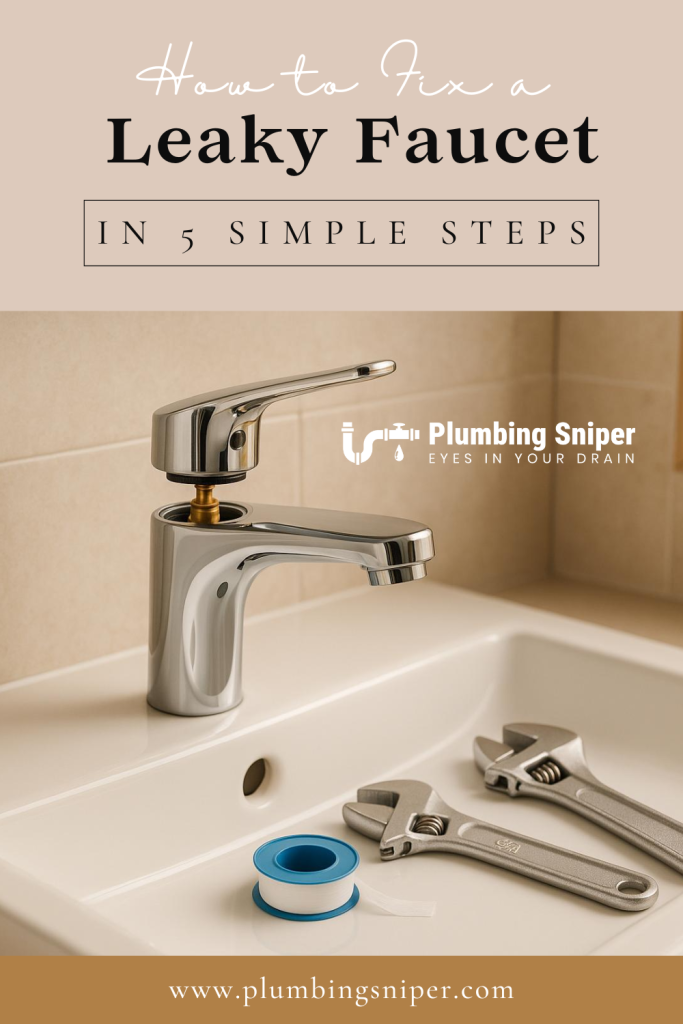
Did you know a leaky faucet can waste up to 3,000 gallons of water a year? That’s money down the drain – literally. The good news is, fixing it yourself is easier than you think. Learn how to fix a leaky faucet yourself in minutes. The good news is, fixing it yourself is easier than you think. With basic tools and about 30 minutes, you can stop the drip and save on your water bill. With basic tools and about 30 minutes, you can stop the drip and save on your water bill.
Here’s a quick breakdown of how to fix a leaky faucet:
- Turn off the water supply to avoid flooding.
- Identify your faucet type (compression, cartridge, ball, or ceramic disc).
- Disassemble the faucet to find the worn parts.
- Replace washers, O-rings, or cartridges as needed.
- Reassemble and test to ensure the leak is gone.
Fixing a faucet not only saves water but also prevents mold, mildew, and costly repairs. Ready to tackle that drip? Let’s dive into how to fix a Leaky Faucet.
Tools and Materials You’ll Need
Having the right tools and materials on hand can make faucet repair much smoother and less stressful. Here’s what you’ll need to gather before you start.
Basic Tools
To tackle How to Fix a Leaky Faucet, you’ll need a few must-have tools. An adjustable wrench is key for loosening or tightening nuts and fittings. Keep both Phillips and flathead screwdrivers handy since faucet screws can vary depending on the manufacturer.
For more information, see our guide on Adjust a Delta Shower Faucet.
For more information, see our guide on is a Shower Diverter Valve?.
For more information, see our guide on Replace a Shower Faucet Handle.
You’ll also need plumber’s tape (often called Teflon tape) and plumber’s grease to ensure watertight seals when reassembling the faucet. A bucket is a smart addition to catch any water that might spill during the process.
For trickier spots, tools like a basin wrench, channel lock pliers, flashlight, needle nose pliers, and a hex key set will come in handy. To avoid scratching the faucet’s finish, wrap masking tape around any exposed areas before using tools like wrenches.
Once you’ve gathered these tools, make sure you also have the right replacement parts ready to go.
Replacement Parts
Replacement parts are key to how to fix a leaky faucet. Common issues like leaks are often caused by worn washers, damaged O-rings, or faulty cartridges. Knowing your faucet type is crucial when buying parts.
To ensure you get the right match, bring the old parts with you to the store. Retailers like The Home Depot, Lowe’s, and Ace Hardware typically stock a wide range of faucet components and repair kits. If you’re repairing a cartridge faucet, consider keeping an extra cartridge on hand for future fixes.
Preparation Materials
Before diving into the repair, take a few steps to prepare your workspace for how to fix a leaky faucet. Use towels or rags to protect surfaces, clean up spills, and cover the drain to prevent small parts from disappearing. If you don’t have a sink stopper, a rag works just as well to block the drain.
Distilled white vinegar and a soft cloth are great for removing any mineral buildup on faucet parts. Duct tape can also come in handy for securing tools or shielding the faucet during repairs. Lastly, snap a few photos of the faucet assembly before you take it apart – these can serve as a helpful guide when it’s time to reassemble everything.
Identifying Your Faucet Type
Before diving into any faucet repair, it’s crucial to figure out what type of faucet you’re dealing with. Why? Because each type has its own repair method and requires specific tools and replacement parts.
Let’s break down the most common faucet types so you can pinpoint yours and proceed with the right approach.
Common Faucet Types
- Compression Faucets: These are the oldest style you’ll find in many American homes. They have two separate handles – one for hot water and one for cold. You tighten them down to stop the water flow. Inside, they use a compression stem with a washer to create the seal. While they’re prone to leaks, they’re inexpensive and simple to repair.
- Cartridge Faucets: Known for their smooth operation, these faucets can have one or two handles. Instead of requiring extra tightening, they use an internal cartridge to control water flow. They’re more durable than compression faucets, though replacement cartridges tend to cost more.
- Ball Faucets: These single-handle faucets have a rounded cap beneath the handle. Inside, a slotted ball mixes hot and cold water. They’re budget-friendly but can leak more often due to the many small parts that wear out over time.
- Ceramic Disc Faucets: A more modern option, these faucets feature a single lever atop a wide, cylindrical body. They use ceramic discs inside a pressure balance cartridge to regulate water flow and temperature. They’re reliable and great for people with grip issues, though they tend to come with a higher price tag.
How to Identify Your Faucet
Not sure which type you have? Here’s how to figure it out:
Start by examining the handles and how they operate. If you have two handles that need to be tightened to stop the water, it’s likely a compression faucet. On the other hand, handles that turn smoothly without tightening point to a cartridge faucet.
For single-handle faucets, pay attention to the shape of the faucet body. A rounded cap under the handle suggests a ball faucet, while a wider, cylindrical body indicates a ceramic disc faucet.
Another clue lies in the manufacturer’s details. Look for logos or brand names on the handle, spout, or base. Model numbers can often be found underneath the faucet or on the back of the spout. If you have a double-handle faucet, measuring the distance between the handles can also help. A span of 4 inches is typical for a center-set faucet, while 8 to 16 inches suggests a widespread faucet.
Still unsure? You can always remove the handle to get a better look at the internal components. The design of the stem or cartridge is often a dead giveaway for the faucet type.
For more on this topic, see our guide on 8 Ways to Remove Hair.
Fixing a Leaky Faucet: 5 Simple Steps
Once you’ve identified your faucet type, you can follow these five steps for how to fix a leaky faucet.
Step 1: Turn Off the Water Supply
Before starting any repairs, make sure to stop the water flow. This prevents accidental flooding in your kitchen or bathroom. Look under your sink for two shut-off valves – one for hot water and one for cold. Turn these valves clockwise to close them.
If you can’t find individual shut-off valves under the sink, you’ll need to turn off the main water supply to your house. The main shut-off valve is typically located in a utility area, near where the main water line enters your home, or on an exterior wall by the water meter. After shutting off the water, open the highest and lowest faucets in your home to drain any remaining water from the pipes.
Step 2: Remove the Faucet Handle
Next, take off the faucet handle to access the internal components. Most handles have a decorative cap or screw cover that hides the mounting screw. Use a flathead screwdriver or even your fingernail to gently pry off the cap – if you’re worried about scratches, wrap the tip of the tool with tape. Once the cap is off, remove the screw using a Phillips screwdriver or an Allen wrench, turning it counterclockwise. If the handle is stuck, gently wiggle it upward; avoid using excessive force.
Pro tip: Take a quick photo of the handle and its components before removing anything. This can serve as a helpful visual guide when putting everything back together.
Step 3: Check and Replace Worn Parts
Now, inspect the faucet for worn-out parts. To prevent losing any small pieces, plug the drain. For compression faucets, check the valve stem for a damaged rubber washer at the base. With ball faucets, examine the O-rings, adjusting rings, and the ball itself for wear. Cartridge faucets may leak due to faulty O-rings or cartridges – pull the cartridge straight out, using pliers if necessary. For ceramic disc faucets, look for cracks in the ceramic disc.
Once you’ve identified the problem parts, take them to a hardware store to find exact replacements. Even a slightly incorrect size can prevent a proper seal. Before installing the new parts, clean off any mineral deposits using distilled white vinegar. Then, coat the O-rings and washers with plumber’s grease to ensure a tight seal and make future disassembly easier.
Step 4: Reassemble the Faucet
Put the faucet back together by reversing the steps you used to take it apart. Start by reinstalling the valve stem or cartridge, making sure it’s properly aligned – some cartridges have tabs or notches that need to fit into place. Use tape on threaded components if necessary.
Next, secure the packing nut or retaining clip and reattach the handle. Align everything carefully before tightening the screw. Tighten components just enough to hold them securely without overdoing it, as overtightening can damage parts or strip threads. Finally, replace the decorative cap or screw cover to finish the assembly.
Step 5: Test the Faucet
Once reassembled, it’s time to test your repair. Slowly turn the water back on to avoid pressure surges. Run the faucet for a few minutes, testing both hot and cold settings. Check for leaks around the spout, handle, and underneath the sink at the connections or valve stems. If you spot any leaks, use an adjustable wrench to tighten the connections – just enough to secure them without overtightening.
If the faucet still drips, the issue might be loose connections or improperly seated parts. Turn the water off again and double-check that all washers, O-rings, and threaded components are correctly installed and secure. Persistent leaks may require further troubleshooting, which is covered in the next section.
Troubleshooting and When to Get Help
Even after completing repairs, faucet issues might linger. If your faucet continues to leak despite following the repair steps, these troubleshooting tips for how to fix a leaky faucet can help pinpoint the problem.
Common Problems and Fixes
A persistent drip can be incredibly frustrating. If the leak remains, double-check that the replacement parts are an exact match for the originals. Additionally, clean the valve seat thoroughly using white vinegar and a toothbrush. Plumbing expert Danny Lincoln suggests, “If you still have a problem after your method, I would suggest you missed the diagnosis, or assembled it wrong” when attempting How to fix a leaky faucet
Scratches, corrosion, or mineral buildup on the valve seat can also prevent a proper seal, even with a new washer. To address this, soak the valve seat in white vinegar for 15–20 minutes and scrub away any deposits with a toothbrush. However, if you spot deep scratches or pitting, the valve seat might need professional repair or replacement.
Incorrect installation is another frequent culprit behind lingering leaks. Ensure all connections are secure but avoid overtightening. Keep in mind that universal replacement kits might not fit your faucet perfectly, which could lead to issues.
If you experience low water pressure after reassembly, debris in the system is likely the cause. Remove and clean the aerator, and check that all shut‑off valves are fully open to finish your How to Fix a Leaky Fauce process. Learn more about loosen stuck shut off in our detailed guide.
On the flip side, high water pressure throughout your home can make even minor imperfections worse. High pressure can exacerbate leaks over time, so if problems persist, test your home’s water pressure to rule this out. You might also find our article on thermostatic pressure balance shower useful.
Worn stems and damaged threads may also cause leaks, especially if the valve seat is severely damaged. Former HVAC technician Terry Breault explains, “A faucet will leak after new washers are installed because the seats are bad. A plumber can repair or replace the bad seats. It’s sometimes easier to replace the faucet”. In cases of significant damage, professional repair or even replacement of the faucet may be the better option.
For cartridge-specific issues, it’s crucial to use a replacement cartridge that matches your faucet’s exact model. Refer to the manufacturer’s spec sheet to ensure compatibility, and don’t hesitate to reach out to the manufacturer for technical assistance.
When to Call a Professional
If troubleshooting doesn’t resolve the issue, there are situations where calling a plumbing professional is the best decision.
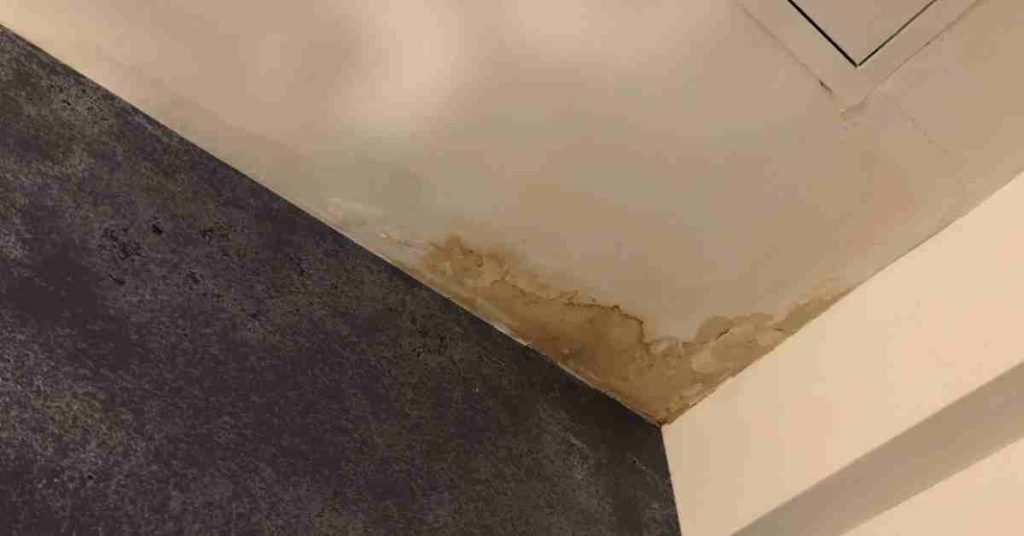
Hidden leaks are a common indicator that expert help is required. Signs like water stains under the sink, damp cabinet floors, or unexplained spikes in your water bill may point to leaks behind walls or in hard‑to‑access areas, which often require specialized tools beyond what a How to fix a leaky faucet covers.
Major faucet replacements can also be more complicated than they initially seem. While swapping out washers is relatively simple, installing a new faucet involves connecting supply lines, ensuring proper alignment, and sometimes modifying existing plumbing. Mistakes during installation can result in costly water damage.
If you notice rust or corrosion throughout the faucet assembly, this could signal broader issues with your home’s plumbing. Extensive corrosion or rusty water supply lines should be assessed by a professional to prevent further damage.
Ultimately, trust your instincts. If you feel unsure about any step or worry about causing more harm, bringing in a licensed plumber is a wise choice rather than continuing to struggle with how to fix a leaky faucet on your own.
If leaks persist despite multiple repair attempts, it’s time to call in the experts. As B&W Heating, Cooling, Plumbing and Electric advises, “If you’ve tried these fixes and the dripping persists, it might be time to consider calling in a professional”. Sometimes, the root of the problem lies in areas that aren’t visible during standard repairs.
Conclusion
Fixing a leaky faucet might seem daunting at first, but with the right tools, a little patience, and these five simple steps, most homeowners can handle this common issue without needing professional help. By now, you’ve learned how to fix a leaky faucet, from identifying your faucet type to testing your work. This small victory is a great step toward taking control of home maintenance.
Beyond saving money, repairing a leaky faucet helps conserve water. Did you know that household leaks in the U.S. waste nearly 1 trillion gallons of water every year? Every repair you make contributes to reducing that staggering figure. Plus, addressing these small problems early can prevent bigger headaches down the line. Extensive water damage repairs can cost thousands of dollars, so tackling minor issues now is a smart way to avoid major expenses later.
“Regular plumbing maintenance has several advantages that can save you money, time, and a great deal of trouble down the road”. To keep your plumbing system in good shape, consider scheduling annual inspections, keeping an eye on water pressure, and using natural solutions like baking soda and vinegar to clean your drains.
The skills you’ve gained from this repair will give you the confidence to take on other home maintenance tasks. Whether it’s another plumbing fix or a completely different project, you’re building a solid foundation for keeping your home in great condition.
Don’t ignore small plumbing problems. Whether it’s a dripping faucet or another minor issue, addressing them quickly protects your home and your wallet. With these techniques in hand, you’re ready to keep your plumbing system running smoothly and prevent costly disasters before they happen.
FAQs
Why is my faucet still leaking after I’ve replaced the worn parts?
If your faucet continues to leak even after replacing the worn parts, the problem could lie with the valve seat or cartridge alignment. A damaged or improperly aligned valve seat can stop the faucet from sealing as it should. Similarly, over-tightening the cartridge might also lead to leaks.
Sometimes, the faucet’s internal components – like the spout or other hardware – can be too worn out or damaged to fix. In such cases, swapping out the entire faucet might be the best option. If you’re not sure what’s causing the issue, it’s a good idea to reach out to a professional plumber for a closer inspection.
How can I figure out what type of faucet I have if there are no visible brand names or model numbers?
If your faucet doesn’t display any obvious brand names or model numbers, start by thoroughly inspecting all its components. Use a flashlight to examine hidden areas, as logos or markings are sometimes discreetly placed on the underside of the spout, handle, or other less visible spots. Check for engraved numbers or tags on supply lines or inside the faucet base – these can often reveal the brand or model.
Still stuck? Take a clear photo of the faucet and compare it with images on manufacturer’s websites. You can also reach out to their customer support for guidance. Knowing your faucet’s type makes finding the right parts and handling repairs much easier.
When should I call a plumber instead of fixing a leaky faucet myself?
If you notice a leak coming from tricky spots like under the sink or inside the walls, it’s probably time to call a professional plumber. These areas often point to more complicated plumbing issues that require expert attention. Similarly, if you’ve already tried replacing washers or tightening connections and the leak just won’t quit, it’s best to bring in a pro.
For severe leaks or if you’re not confident about handling the repair yourself, getting professional help can save your home from further damage. A plumber has the tools and expertise to fix the issue safely and efficiently.