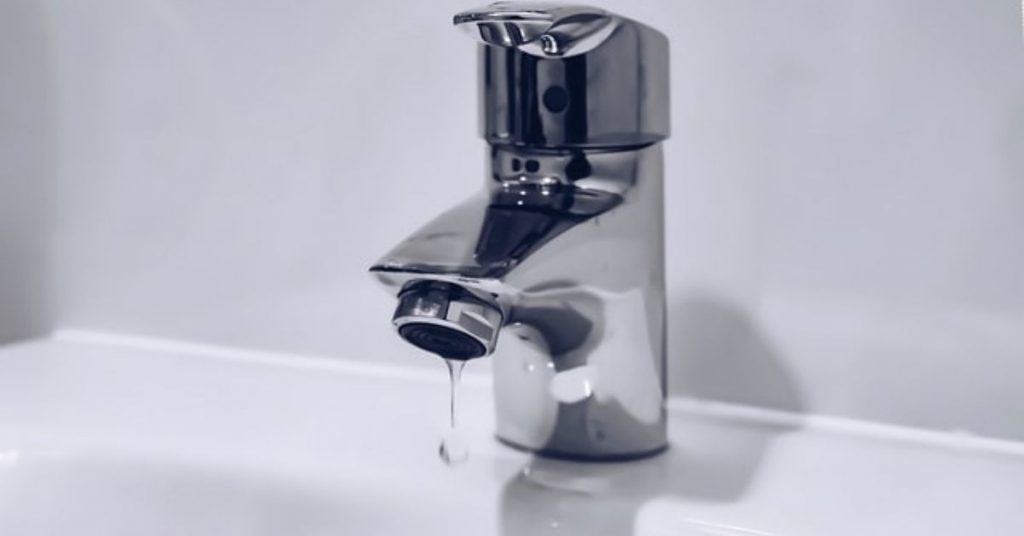
To increase water pressure in a bathroom sink, you can try the following methods:
- Check for Obstructions: First, inspect the faucet aerator and remove any mineral deposits or debris that may be blocking the flow of water. Soak the aerator in vinegar to dissolve deposits, then reattach it.
- Clean the Supply Lines: Sediment or debris may accumulate in the supply lines over time, reducing water pressure. Turn off the water supply, disconnect the lines, and flush them out to remove any obstructions.
- Adjust the Shut-Off Valve: The shut-off valve beneath the sink may not be fully open. Make sure it’s fully turned counterclockwise to allow maximum water flow.
- Replace Old Plumbing: If your plumbing system is old and corroded, consider replacing it with newer, wider pipes. This can significantly improve water pressure throughout your home.
- Install a Pressure Booster Pump: A pressure booster pump can be installed in your plumbing system to increase water pressure. Consult a professional plumber for proper installation.
- Upgrade the Faucet: If your faucet is old or has a low-flow design, consider upgrading to a newer model with a higher flow rate. Look for faucets labeled as “high flow” or “high-pressure” models.
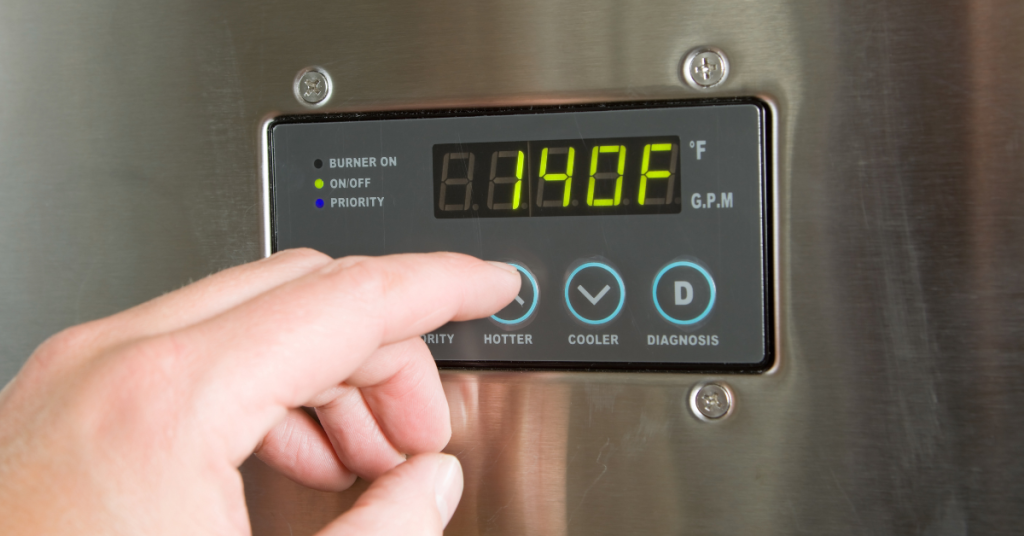
- Check the Water Pressure Regulator: If your home has a water pressure regulator (located near the main water supply), it may be set too low. Adjust it to a higher pressure if necessary, but be cautious not to set it too high, which can damage plumbing.
- Consult a Plumber: If you’ve tried the above methods and still experience low water pressure, consult a professional plumber. They can assess your plumbing system and recommend appropriate solutions, such as replacing old pipes or making system adjustments.
How to Fix a Bathroom Sink Faucet with Low Water pressure
There are different ways to increase the water pressure in a bathroom sink faucet. This will however depend on what you suspect the cause of the low water pressure to be.
If you can’t tell why there is low water pressure in the bathroom sink faucet but the shower/bathtub faucet has high water pressure, you can check out all methods in this post and see if any will help.
The following is what to do if you have low water pressure in your bathroom sink faucet:
1. Check if the Shut Valves are Fully Open

Unless you live alone in your house, someone might have partially turned off one or both of the bathroom sink’s shut off valves restricting the flow of water to the faucet. This is especially common if there has been repairs involving the sink the last few days.
Duck under your bathroom sink and check at the condition of the 2 valves. Fully opened shut off valves should be turned all the way counterclockwise.
Try to turn them to be sure that they are indeed fully opened.
Another thing you can do while still under the sink is to check if the water supply hoses are kinked. If you store lots of stuff under the bathroom sink, it is very possible to kink one or both of the water hoses which will without a doubt lower the water pressure.
2. Clean the Faucet Aerator

A faucet aerator is the little attachment at the tip of your faucet spout. If you put your finger inside the faucet spout you will feel a fine mesh/screen. That is the faucet aerator.
Why do faucets have aerators in the first place? As the water inside the faucet enters, the aerator, it is broken into many tiny streams, which allow the introduction of air into the water.
As a matter of fact, the word aerate means to introduce air into something. But why do you want your faucet water aerated?
Aerated faucet water is soft to the touch and does not splash back at you when it strikes the sink. The aerator also helps create a wider spray which is what you need especially in your bathroom faucet.
Faucet aerators are also fantastic in saving water. They reduce the water flow rate but not pressure. The good thing with the aerated water is that you will not notice the difference in water volume.
These small faucet parts are however not without their disadvantages. They are the number one cause of low water pressure in kitchen and bathroom faucets.
Due to the fine nature of the screen, the aerators are easily clogged by debris, mineral deposits and pipe corrosions. When that happens, they flow of water is restricted resulting in low water pressure in the faucet.
This is the same thing that happens when you have low water pressure in your shower head. The good thing is that you can easily remove and clean faucet aerator in just a few minutes.
How to Clean Clogged Faucet Aerators
To do this you will need:
- Half a cup vinegar
- Slip-joint pliers/adjustable wrench
- Old toothbrush
- Small towel/duct tape
Here is how to remove and clean a faucet aerator:
- Grab the faucet aerator and attempt to loosen it with your bare hand. Some of them are only hand tight and if this is that case with yours, you should be in a position to easily remove it.
- If the aerator is tight, wrap a towel around it and grab it with the wrench or pliers. This will prevent you from scratching off the finish. Loosen it gently.
- With the aerator out, check at the condition of the screen by holding it upside-down.
- Break it apart (the ring, washer and screen) and drop them in a bowl of vinegar. Let them soak up for 30 minutes or even an hour.

- Turn on the faucet and check if the water will flow out with decent pressure without the aerator. If the pressure is good then the dirty aerator was the problem. On the other hand if the water pressure remains low then the aerator was not the issue in the first place.
- Clean the aerator. Use the old toothbrush to scrub the aerator and especially the screen to remove all the mineral deposits (calcium most of the time).
- When the aerator is clean, put it back together and screw it back on the faucet. Tighten it gently with the pliers, without forgetting to wrap the towel/tape around it.
- Turn on the faucet and check if the water pressure has improved.
In some cases, cleaning the faucet aerator is not enough. You will need to replace it. The good thing is that you can use the faucet without the aerator as you wait to replace it.
How to Replace the Faucet Aerator
The major headache when replacing a faucet aerator is in knowing which one to buy. Faucet aerators are not universal in size.
You can either take your old aerator to the nearest home improvement store and ask for similar replacement, or you can use a special trick to know exactly what size to buy, especially if you are buying online.
There are 3 sizes of faucet aerators. These are regular, junior and Tom Thumb sizes. To identify what size of aerator you need to buy, place a quarter, nickel and dime over your old aerator.
If it is the same size as a quarter, you need to buy a regular-sized aerator. Buy a junior-sized aerator if it is the same size as a nickel but if it is the same size as a dime you need a Tom Thumb-sized aerator.
Apart from the sizes, you also need to check the type of threads on your aerator. If the threads are external you have a male aerator but if they are internal you have a female aerator. Some aerators will however have dual threads.
There are also other considerations you need to make as outlined in this post.
Once you have purchased the correct aerator, you will only need to thread it on the faucet spout and enjoy great water pressure.
Check the Flow Restrictor
Some faucet aerators have a small plastic disc with a hole in the middle called a flow restrictor. A flow restrictor does exactly that its name implies.
It reduces the flow rate of the water coming out of the faucet. Sometimes you may have an aerator that is both clogged and also has a flow restrictor.
If you have a new bathroom faucet whose pressure is quite low, there is most likely a flow restrictor inside the faucet aerator.
To check if this is the case, remove the faucet aerator and take it apart. If there is a flow restrictor inside, you can opt to remove it entirely or widen the hole.
3. Check the Water Supply Lines
The same way your faucet aerators are clogged with mineral deposits is the same way the water supply hoses get clogged as well.
Here is how to check and fix the problem:
- Turn off the shut off valves by turning them all the way clockwise.
- Open the faucet to drain the water already in the hoses.
- Disconnect the water supply hoses from the faucet underneath the sink and insert the ends in a bucket.
- Turn on the shut off valves and see if the water will flush out the mineral deposits.
- If the pressure does not improve, you can disconnect the hoses from the shut off valves and soak them in vinegar and water (mixed 50:50) and see if that helps.
- If nothing seems to work, replace the water supply hoses.
4. Replace the Shut off Valves
If the water supply hoses don’t seem to be the problem, it could the shut off valves. Replacing the shut off valves will surely fix the problem.
Replacing a faucet shut off valve seems like a hard task but the truth is that most homeowners can comfortably do it. I found a very helpful video on You Tube on the same. Watch it here.
And basically that is how to fix low water pressure in a bathroom sink faucet. I hope you enjoyed this guide.