To fix a leaky Delta shower faucet quickly, follow these steps:
- Turn Off the Water: Locate and turn off the main water supply to the shower to prevent water flow during the repair.
- Remove the Handle: Use a screwdriver to remove the screw securing the faucet handle. Lift off the handle once the screw is removed.
- Access the Cartridge: Inside the faucet, you’ll find a cartridge. Depending on your Delta faucet model, you may need to remove a trim plate to access it.
- Inspect the Cartridge: Examine the cartridge for damage or wear. If it’s causing the leak, you’ll need to replace it with a compatible replacement cartridge. Note the cartridge model and type.
- Replace the Cartridge: Follow the manufacturer’s instructions to remove the old cartridge and install the new one. Ensure it’s properly aligned and seated within the faucet.
- Test for Leaks: Turn on the water supply and slowly open the faucet to check for any leaks around the cartridge. Make sure the faucet operates smoothly.
- Reassemble the Faucet: If applicable, reattach the trim plate and secure it with screws. Place the faucet handle back onto the cartridge stem, ensuring proper alignment, and secure it with the screw.
- Fine-Tune the Temperature: Adjust the temperature using the faucet handle to your preferred setting.
- Final Checks: Test the faucet for any leaks and ensure it’s functioning correctly without any dripping.
- Cleanup: Clean up your work area and dispose of any debris.
How to Fix a Dripping Delta Shower Faucet
To fix a dripping shower faucet you will need the following:
- Cartridge replacement kit
- Philips screwdriver/ set of Allen wrenches
- Strap wrench/pliers
- flathead screwdriver
- plumber’s grease
Once you have the items in place, follow the steps below to replace the cartridge:
1. Turn off Water to Your Shower
You cannot replace a shower cartridge with water already flowing in the pipes. Those who have attempted it have a story to tell.
Unlike other fixtures in your house, a shower faucet is the only one without a separate shut off valve. You will therefore need to turn off the entire water supply to your house.
Some houses have a shower access panel on the wall behind the shower faucet. If you see this access panel in your house, remove it to reveal shut off valves for both cold and hot water lines to the shower faucet.
If you have no access panel, dash to the basement or wherever your main water shut off valve is and turn off water to the house. Turn on the shower faucet to drain the water already in the pipes.
After draining the lines, plug off the shower or bathtub drain to prevent dropping anything down the drain. You will also want to make sure that the tub or shower floor is dry to prevent slipping and falling.
2. Remove the Faucet Handle
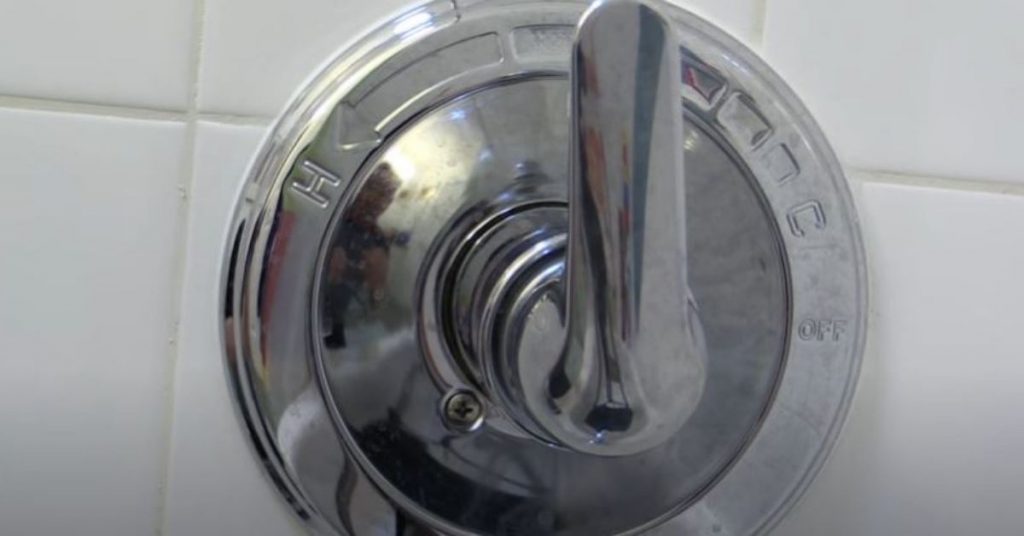
A Delta shower faucet will have either a lever or a knob for a handle. Removing any of them is however very easy.
- If you have a lever-type handle, turn it upside down to reveal a hex screw underneath it.
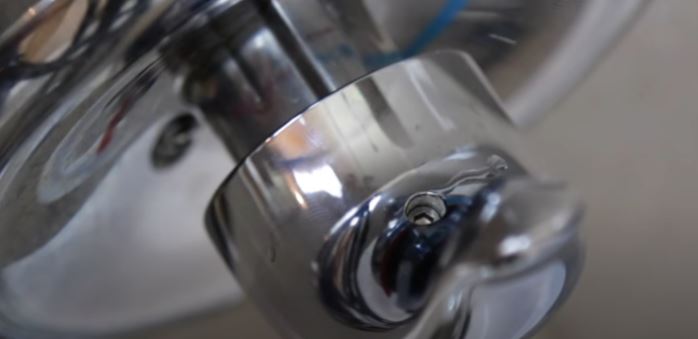
- Use an Allen wrench to remove the screw.
- Grab the lever and pull it out as you wiggle it at the same time.
- If you have a knob-type handle, it will be connected to the cartridge by a Philips screw. The screw is usually hidden by an index cap at the front.
- Pry off the index cap with a flathead screwdriver or knife.
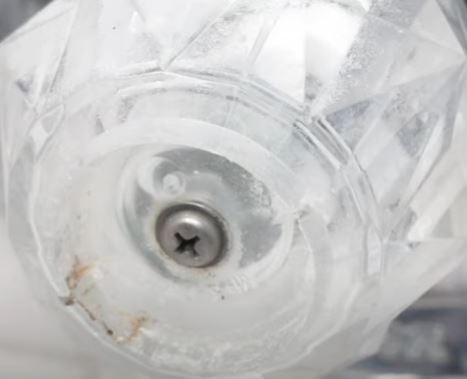
- Use the Philips screwdriver to remove the screw.
- Remove the handle by pulling it out and wiggling it at the same time. It may not come off easily if it has been in place for a long time due to corrosion.
3. Remove the Cartridge
- Remove the trim sleeve. This is the round piece between the handle and the cartridge. It is usually not threaded so you only need to slide it out. You will see a spacer when you look inside the trim sleeve. Put the sleeve aside.
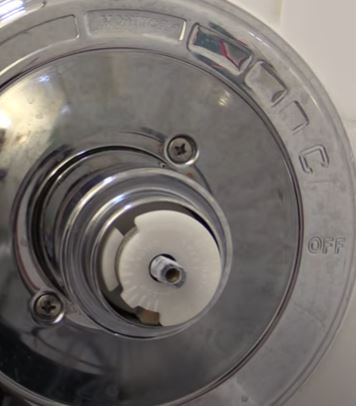
- Remove the cartridge ring. A cartridge ring holds the cartridge tightly in place. Before using a wrench to try and remove it, I recommend that you first check if it is only hand tight.
- If the cartridge ring is quite tight, a strap wrench is the recommended tool for removing it. You can however use an adjustable wrench or pliers. Be gentle on this piece as you do not want to oval it.
- Once the ring is loose, unscrew it with your hand and place it aside as well.
- With the ring out, the cartridge is now free. Grab it with your hand and pull it straight out. You may need to wiggle it a little as you pull it out. Also, note that some water will come out once you pull out the cartridge.
Once the cartridge is out, inspect it for any damages and try to find out why it was leaking in the first place. Although my recommendation is that you replace the cartridge, you can opt to only replace the seat and springs only. Check out this You Tube video if you need to replace the seats and springs.
4. Clean the Shower Valve Body
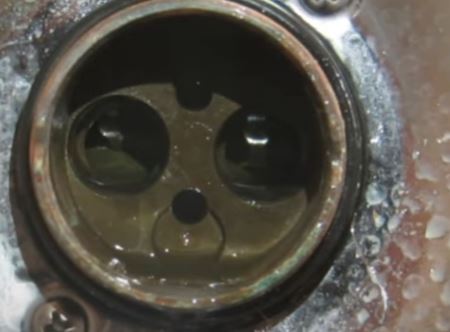
Grab a flashlight and inspect the inside of the shower valve body. Check if there is corrosion, mineral deposits or just any form of debris that will prevent you new cartridge from working properly.
It is not unusual for a shower faucet to leak even after replacing the cartridge.
Clean out all the corrosion and mineral deposits from the inside of the valve body. Some people even turn on the water for a few seconds to flush the pipes which prevent the new cartridge from being plugged by debris.
5. Install the new Cartridge
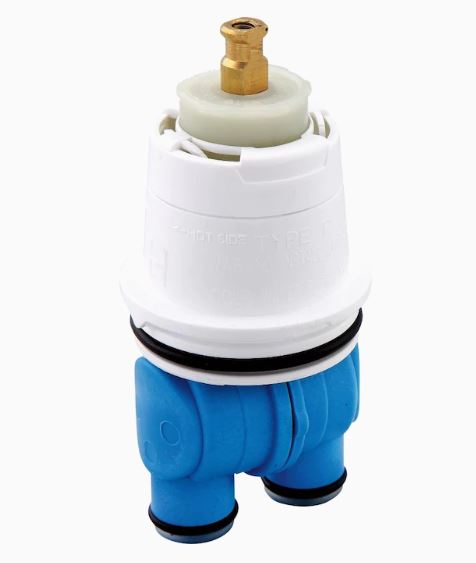
- Apply grease on the new cartridge’s O-rings. This helps it to seal effectively and also easy to pull out the next time you will be replacing it.
- Check the cartridge’s orientation. There will be ‘hot’ and ‘cold’ markings on the cartridge. It is important to ensure that as you install the cartridge, the side marked ‘hot’ is on the left while the one marked ‘cold’ is on the right.
- Gently push the cartridge inside the valve body.
- Please not that there are 2 indentations on the valve body that should match with 2 shoulders on the cartridge. These 2 should coincide as a confirmation that the cartridge is properly installed.
- Screw in the cartridge ring. You do not need to tighten the ring with a wrench. Hand tight is perfect.
- Slide in the trim sleeve. Again, do not forget which side goes in first. The side that goes in first is the side with the spacer and is also wider.
- Adjust the anti-scald device. This is the plastic piece at the tip of the cartridge. Pull it and turn it to the left for hotter or right for colder water. Once you have adjusted it don’t forget to push it in.
6. Install the Handle
Install the faucet handle back pretty much the same way you removed it.
Once you have connected the handle back turn on the water and test your new shower faucet. If indeed a faulty cartridge was the problem, you will notice that the dripping will stop.
As I had mentioned earlier, some faucets will continue leaking even after replacing a cartridge. If this happens to you, the shower valve may be damaged and need to be replaced..
Replacing a shower valve is expensive since it will also require hiring a licensed plumber.